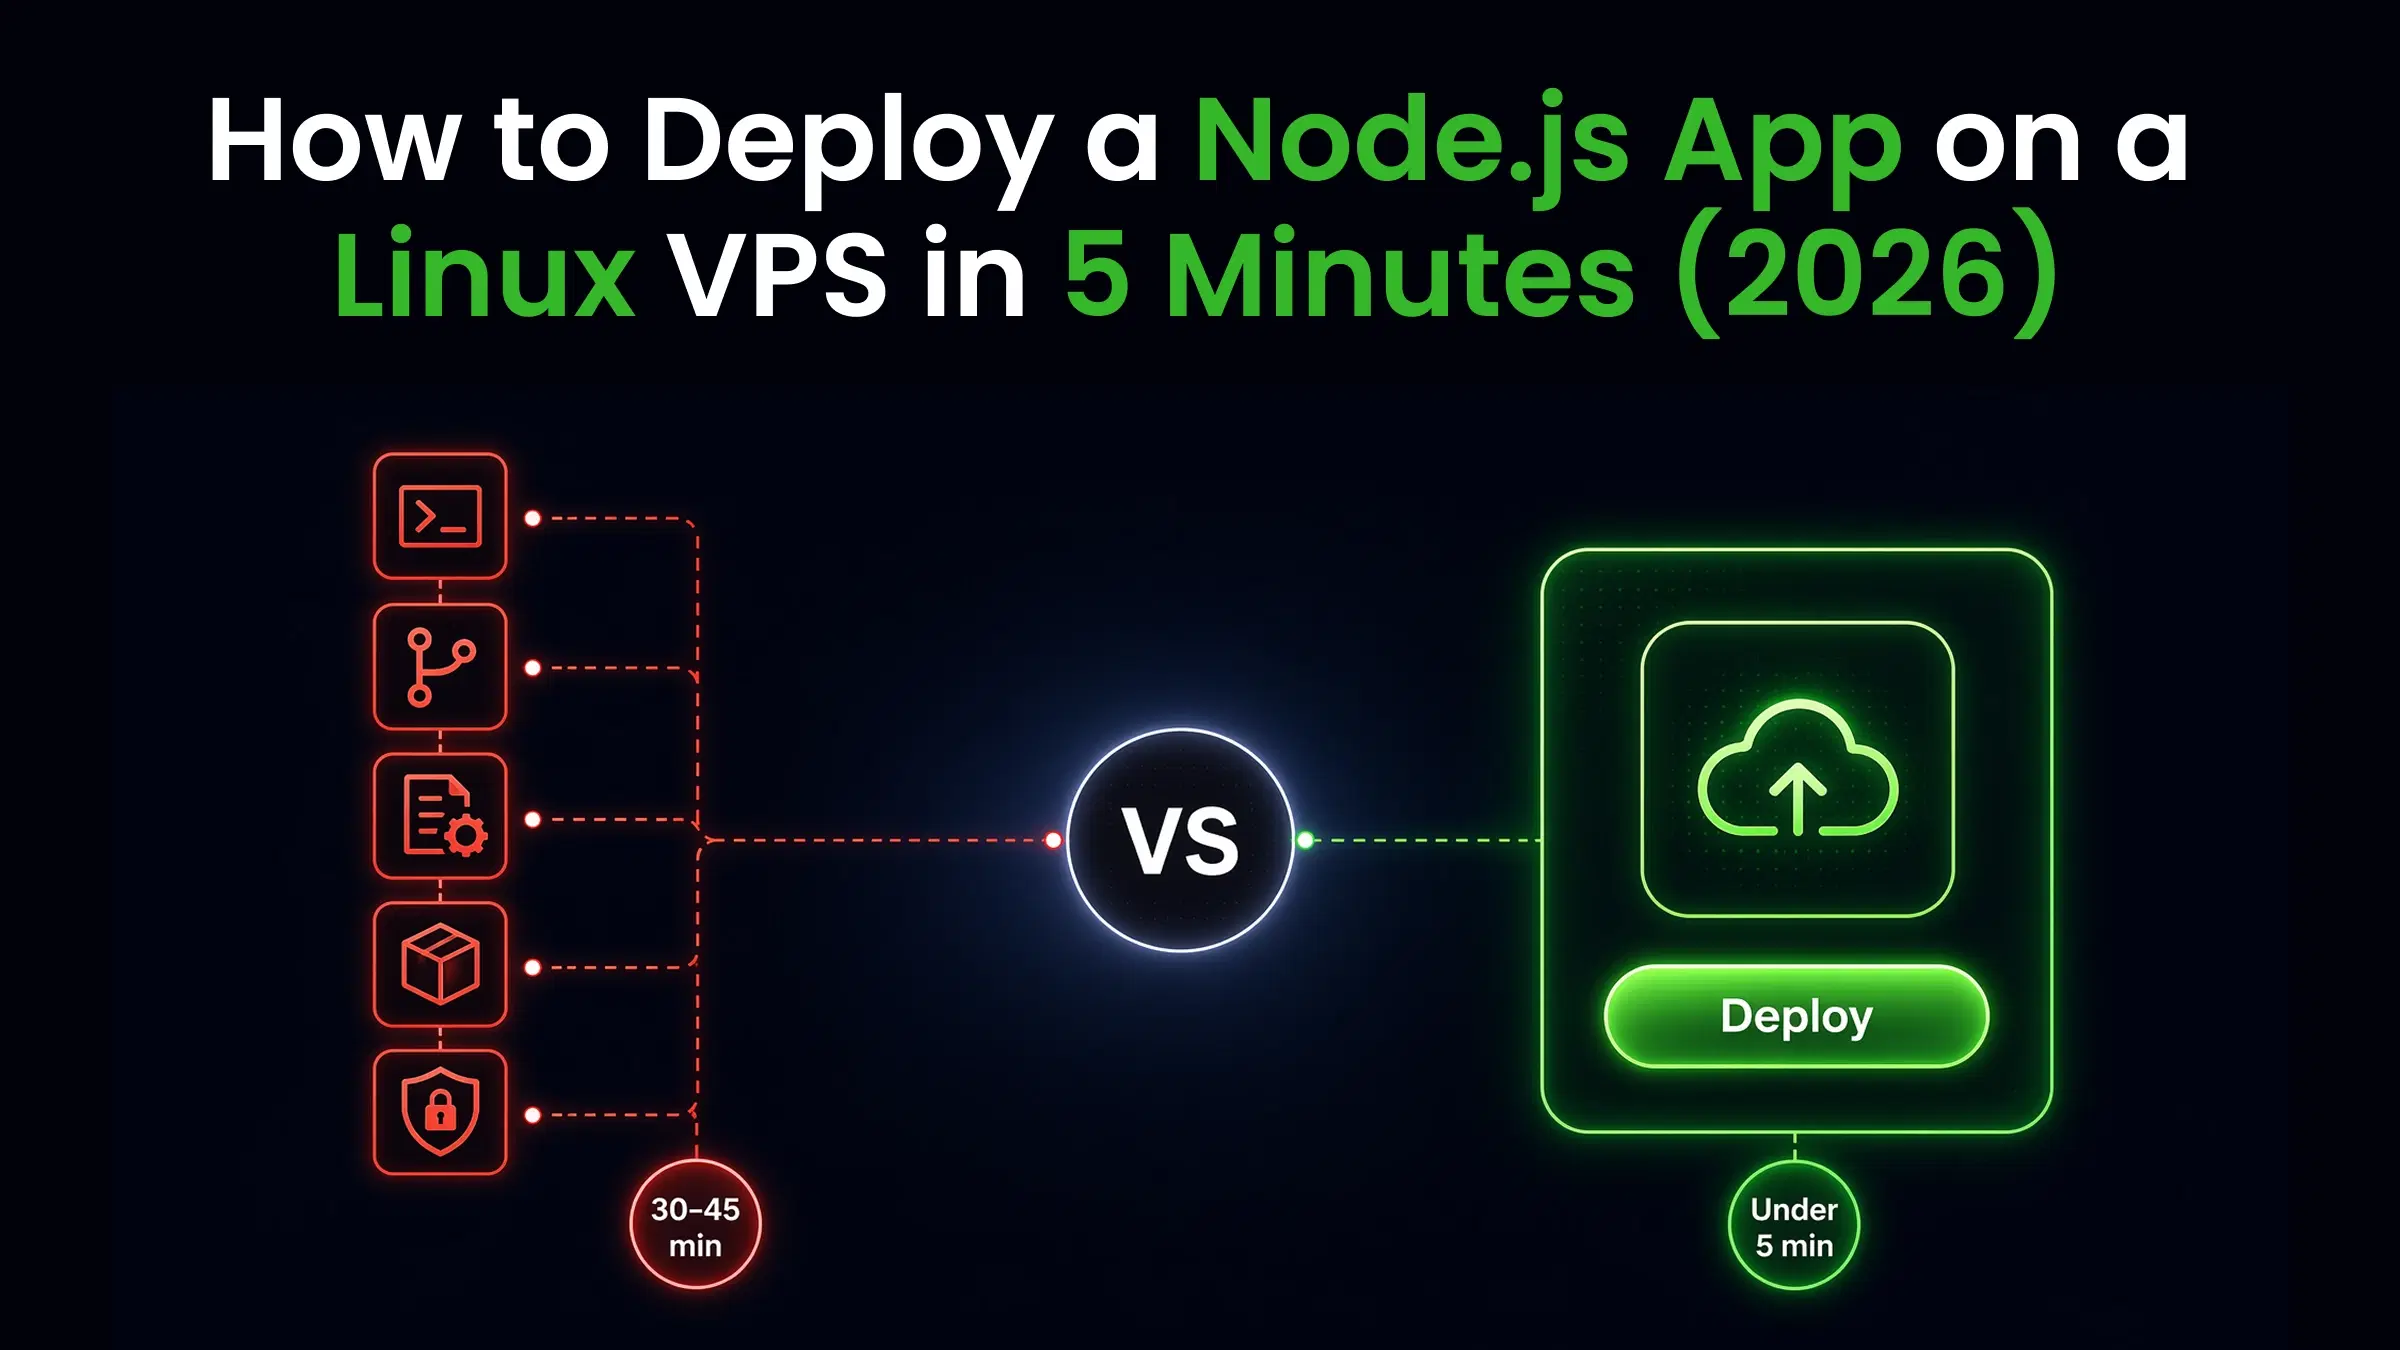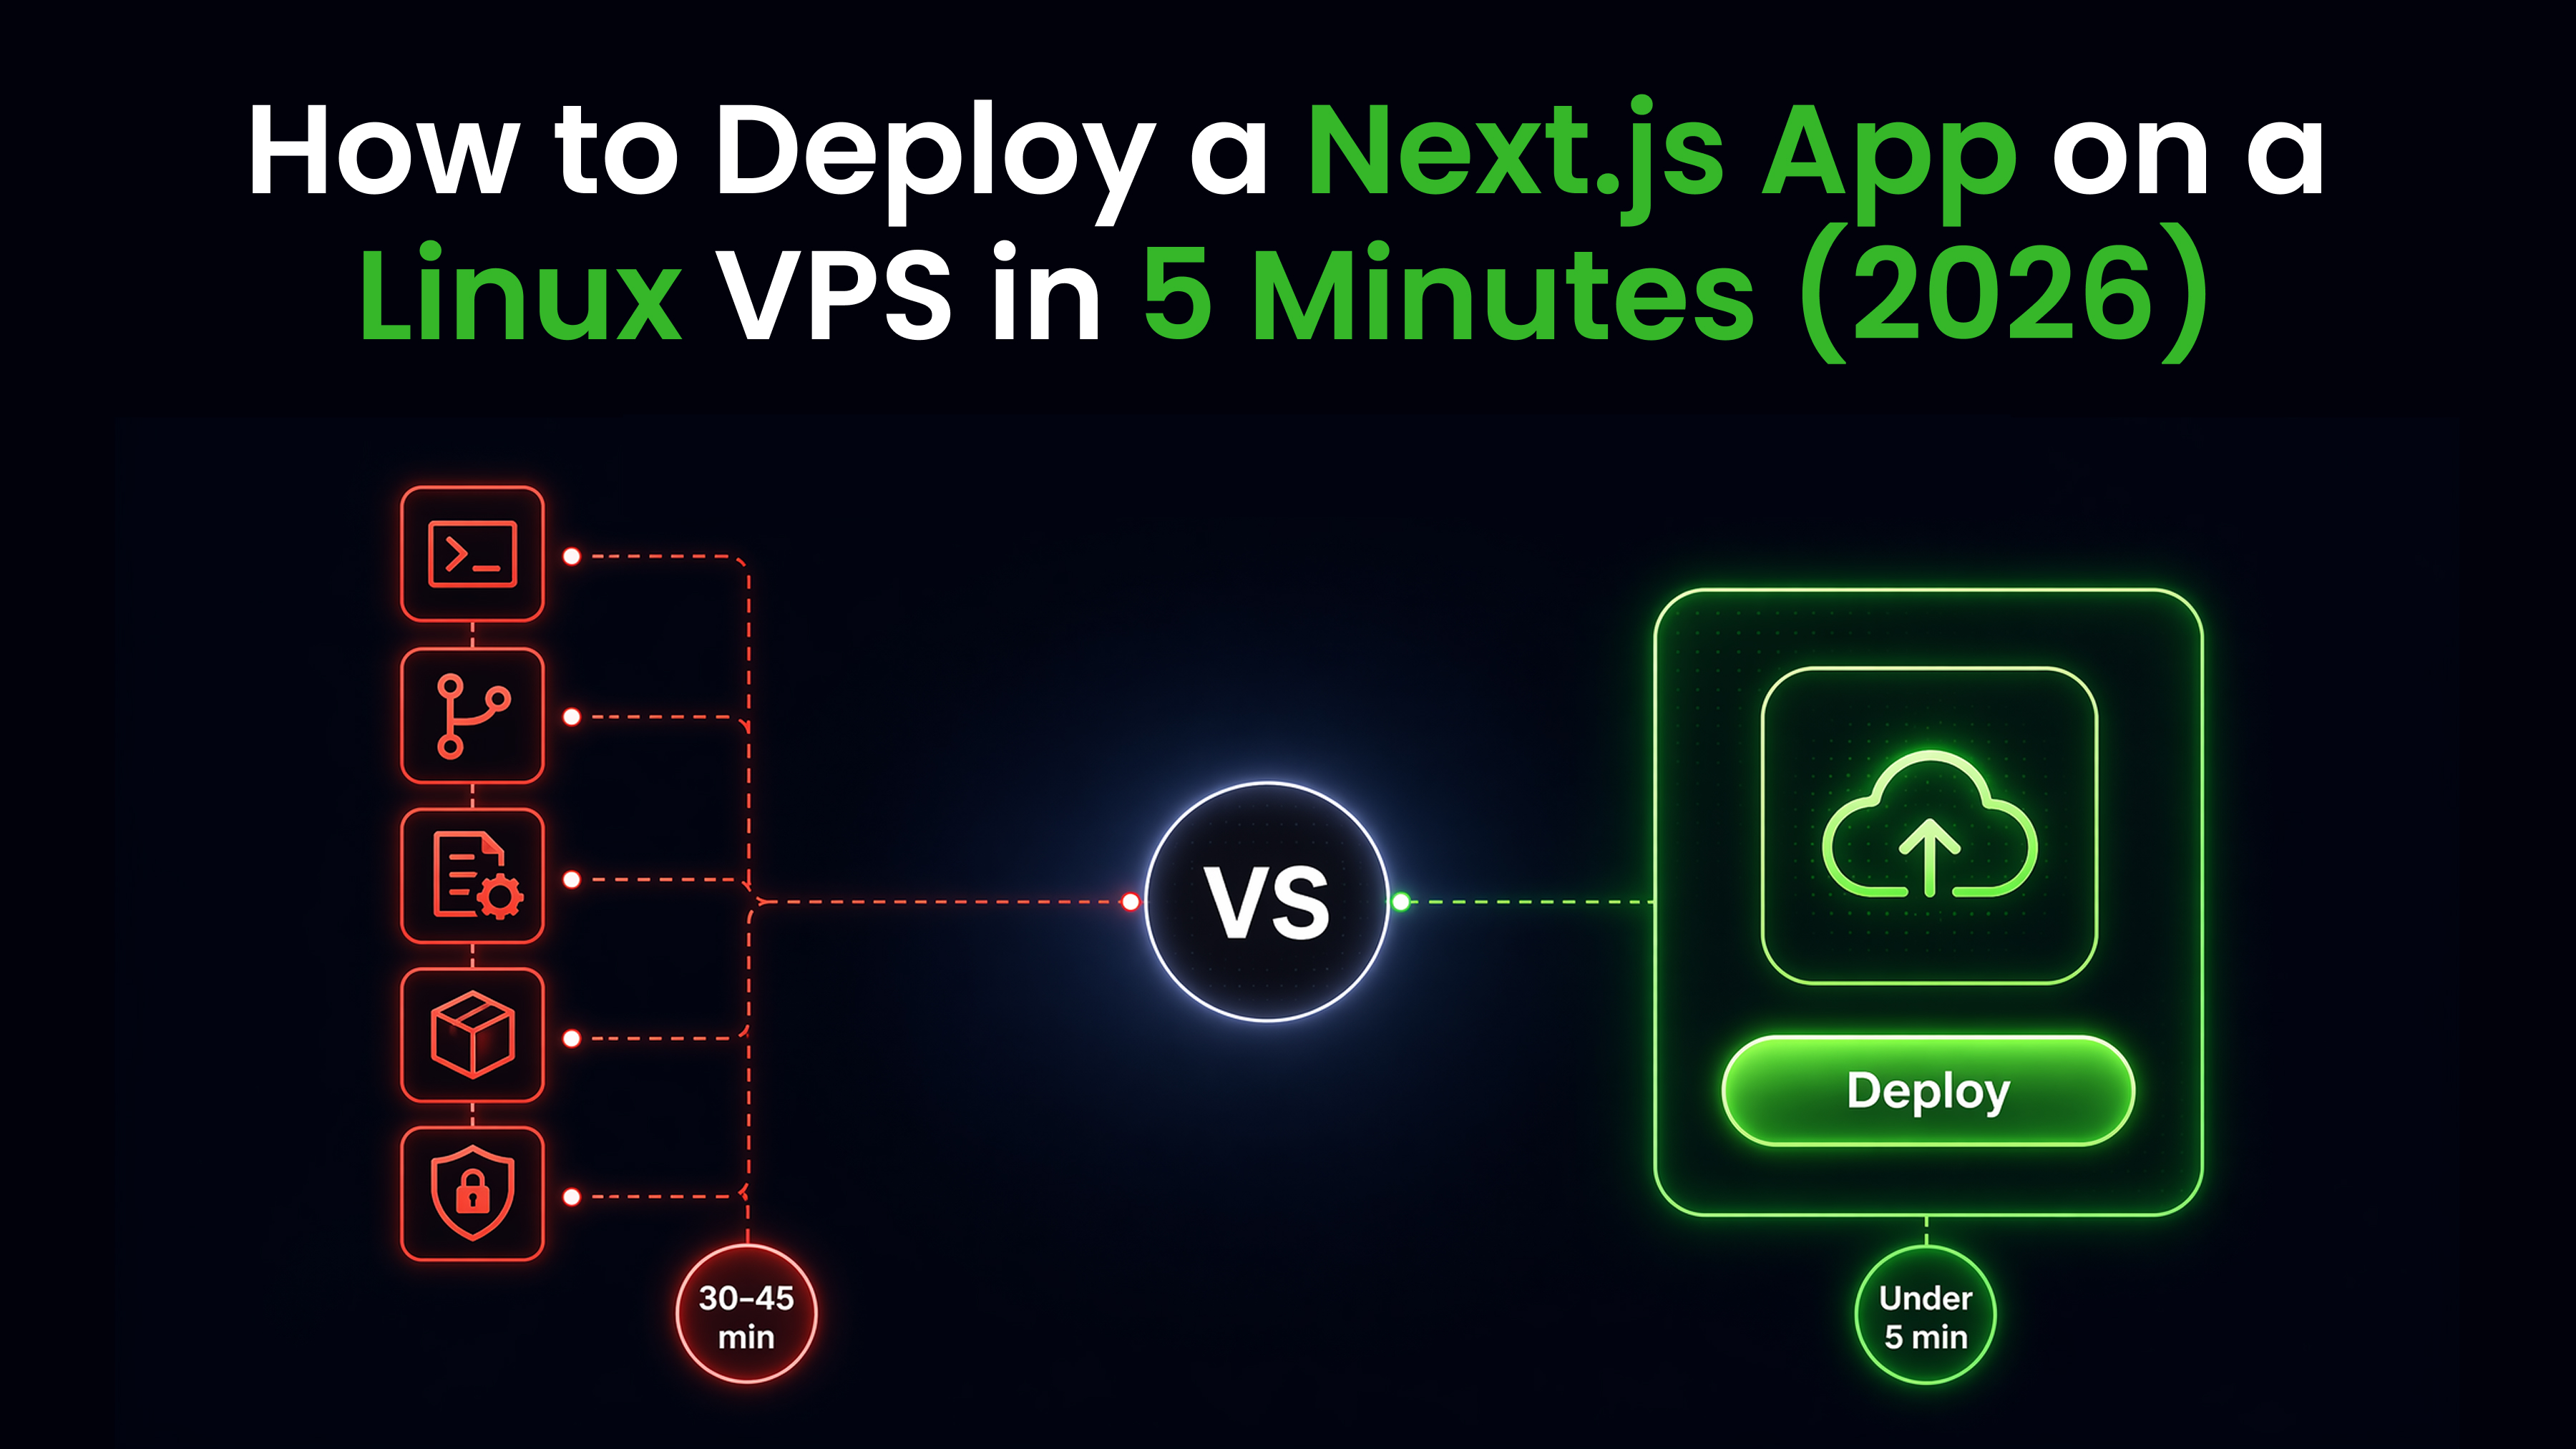

Next.js apps need a running Node.js server for SSR, API routes, and middleware. Unlike static React builds, you cannot just upload files to a web server. Deploying Next.js on a Linux VPS requires building the production bundle, configuring a process manager, setting up a reverse proxy, and handling environment variables that behave differently at build time versus runtime. CtrlOps one-click deployment automates this entire stack in under 5 minutes.
Key Takeaways
Deploying a Next.js application on a Linux VPS in 2026 involves 13 manual steps and at least one gotcha that does not exist in plain Node.js deployments: the production build step. Miss it, and your app serves development code to real users. Get NEXT_PUBLIC_ variables wrong, and your frontend silently uses stale values baked in at build time.
Manual deployment (all 13 steps) is the right choice when you need a custom Nginx configuration, want to learn the full deployment stack, or run a non-standard Next.js setup with Docker or a monorepo. Total time: 30-45 minutes.
CtrlOps one-click deployment handles the repetition when you deploy Next.js apps from GitHub regularly. You fill a form, select Next.js as the application type, and click Deploy. The dependency installation, build, PM2, Nginx, and SSL are configured automatically. Total time: under 5 minutes.
| Step | Manual Process | With CtrlOps |
|---|---|---|
| Install Node.js | Run NodeSource setup script | Select version from dropdown |
| Clone repo | git clone via terminal | Paste GitHub URL in form |
| Environment variables | Create .env manually via nano | Bulk paste entire .env file |
| Install dependencies | npm install via terminal | Auto-runs during deploy |
| Production build | Run npm run build manually | Auto-runs during deploy |
| PM2 setup | Install, configure, set startup script | Handled automatically |
| Nginx reverse proxy | Write config file, test, reload | Handled automatically |
| DNS setup | Update A record at registrar | Update A record at registrar |
| SSL certificate | Install Certbot, run CLI commands | Toggle on, auto-configured |
| Total time | 30-45 minutes | Under 5 minutes |
| Tools required | 5+ (terminal, editor, browser, DNS panel, docs) | 1 (CtrlOps) |
Why Is Next.js Harder to Deploy Than Plain Node.js?
Deploying Next.js on a VPS stacks three extra requirements on top of standard Node.js infrastructure: a mandatory npm run build compilation step, a split between build-time and runtime environment variables, and a persistent Node.js process that renders pages on every request.
A plain Node.js app runs with npm start. Next.js needs npm run build first, which compiles React Server Components, generates static pages, optimizes images, and bundles JavaScript. On a 1 GB VPS, this build step alone can consume all available memory and crash with a Killed error.
Then there is the environment variable split. Variables prefixed with NEXT_PUBLIC_ get embedded into the JavaScript bundle during npm run build. Change them after the build, and nothing happens. Your frontend keeps using the old values. This catches developers who treat .env changes the same way they would in Express, where a restart picks up new values immediately.
If you have deployed a Node.js app to a VPS before, you already know 80% of the process. The extra 20% is Next.js-specific, and this guide covers every part of it.
Bottom line: Apps without SSR or API routes can skip the process manager entirely by setting output: 'export' in next.config.js and serving the generated HTML through Nginx alone. This guide assumes your app uses server-side rendering, which is the case for most production Next.js projects.
What Do You Need Before Deploying Next.js on a VPS?
Every Next.js VPS deployment starts with the same prerequisites as needed which we follow while deploying nodejs on linux server. Get these ready first to avoid mid-deployment blockers that cost you 20 minutes of debugging.
- A Linux VPS running Ubuntu 22.04 or 24.04 LTS with at least 2 GB of RAM. The production build step is memory-intensive. A 1 GB server works but needs a swap file (covered in Step 5).
- SSH access to your server. You should be able to run
ssh user@your-server-ipfrom your local terminal. - Your Next.js app in a GitHub repository. Public repos work immediately. Private repos need a deploy key or a GitHub personal access token.
- A domain name (optional but recommended). Point the DNS A record to your server's public IP address before starting the SSL step.
- A successful local build. Run
npm run buildon your local machine first. If it fails locally, it will fail on the server with less helpful error output.
Reality check: Next.js recommends 2 GB of RAM minimum for production builds. If you are on a 1 GB VPS from DigitalOcean, Hetzner, or AWS Lightsail, create a 2 GB swap file before running npm run build. Without it, the Linux OOM killer will terminate the build process silently. Step 5 shows you how.
How to Deploy Next.js on a VPS Manually: The Full 13-Step Process
Manual Next.js deployment on a Linux VPS involves 13 steps across server preparation, application setup, production builds, process management, reverse proxy configuration, and SSL. An experienced developer finishes in 30-45 minutes. First-timers should block 60-90 minutes to account for debugging DNS, firewall rules, and environment variable mismatches.
Every step below includes the exact commands. If you have done this before, skip the explanations and copy the commands directly.
Step 1: Update Server Packages (2 Minutes)
Update your server to get the latest security patches and package versions before installing anything.
sudo apt update && sudo apt upgrade -ySkipping this step is how you end up with dependency conflicts 20 minutes into the process.
Step 2: Install Node.js and Git (3 Minutes)
Install Node.js using the NodeSource repository. This gives you the LTS version instead of the outdated version in Ubuntu's default repos.
curl -fsSL https://deb.nodesource.com/setup_24.x | sudo -E bash -
sudo apt install -y nodejs git
Verify the installation:
node --version
npm --version
git --version
Node.js 24 LTS is the recommended version for production deployments in 2026. Node.js 24 LTS (codename Krypton) entered Long-Term Support in October 2025 and is supported through April 2028.
Step 3: Clone Your Next.js Project (1 Minute)
Clone your application code from GitHub.
git clone https://github.com/your-username/your-app.gitMove into the project directory:
cd your-appFor private repos, use a GitHub personal access token:
git clone https://<your-token>@github.com/your-username/your-app.gitStep 4: Configure Environment Variables (3-5 Minutes)
Create a .env file with your application's required variables.
nano .envAdd your variables:
DATABASE_URL=postgres://user:pass@host:5432/db
NEXTAUTH_URL=https://example.com
NEXTAUTH_SECRET=your-secret
NODE_ENV=production
PORT=3000
Save and exit (Ctrl+X, then Y, then Enter).
This is where most deployments slow down. You need to find the right variable names, copy values from your local setup, and make sure nothing has quotes that break the parsing. One missing variable means a startup crash that takes 10 minutes to debug.
Reality check: Next.js treats environment variables differently from standard Node.js apps. Variables starting with NEXT_PUBLIC_ are embedded into the JavaScript bundle at build time. If you change a NEXT_PUBLIC_ variable after running npm run build, the frontend will keep using the old value until you rebuild. Server-only variables (without the prefix) are read at runtime and update on restart.
Step 5: Install Project Dependencies (2-4 Minutes)
npm installOn servers with 1 GB of RAM, npm install can fail with a single-word error: Killed. That is the Linux OOM killer stopping the process when memory runs out. A 2 GB swap file fixes it:
sudo fallocate -l 2G /swapfile
sudo chmod 600 /swapfile
sudo mkswap /swapfile
sudo swapon /swapfile
echo '/swapfile none swap sw 0 0' | sudo tee -a /etc/fstab
The last command keeps the swap active after reboots. Set it up once. It costs nothing and prevents the most common install failure on entry-level VPS plans.
Step 6: Build the Next.js Application (1-3 Minutes)
This is the step that does not exist in plain Node.js deployments. Create an optimized production build:
npm run buildIf the build completes successfully, Next.js generates the .next directory containing your production application. Fix any build errors before moving to the next step.
The build step compiles React Server Components, pre-renders static pages, and bundles client-side JavaScript. On a 2 GB VPS, expect this to take 1-3 minutes depending on the size of your app. Large apps with hundreds of pages can take 5-10 minutes.
Bottom line: If your build fails with JavaScript heap out of memory, increase the Node.js memory limit: NODE_OPTIONS="--max-old-space-size=1536" npm run build. This allocates 1.5 GB of heap memory to the build process. On a 2 GB VPS with swap enabled, this is enough for most Next.js apps.
Step 7: Open Firewall Ports (1 Minute)
Configure UFW to allow SSH, HTTP, and HTTPS traffic.
sudo ufw allow OpenSSH
sudo ufw allow 80/tcp
sudo ufw allow 443/tcp
sudo ufw enable
Type y to confirm.
Reality check: If you enable the firewall without allowing OpenSSH first, you will lock yourself out of your own server. Always run sudo ufw allow OpenSSH before sudo ufw enable. Recovering from this mistake requires a provider console or VNC session.
Step 8: Test the Application on the Server (1 Minute)
Start the app to verify everything works before configuring PM2 and Nginx.
npm startThe firewall from Step 7 blocks port 3000, so test it from the server: in a second terminal, run curl -I http://localhost:3000. If it responds, your app is working. To see it in your own browser, open an SSH tunnel with ssh -L 3000:localhost:3000 user@your-server-ip and visit http://localhost:3000, or save it as a forward in CtrlOps Port Forwarding. Press Ctrl+C to stop the app.
If it crashes, check the error output. The most common issues with Next.js: missing NEXTAUTH_SECRET, a DATABASE_URL that points to localhost instead of your production database, or a build step that was skipped entirely (the .next directory does not exist).
Step 9: Install and Configure PM2 (3 Minutes)
PM2 keeps your app running in the background, restarts it on crashes, and ensures it starts after a server reboot.
sudo npm install -g pm2
pm2 start npm --name "your-app" -- start
pm2 save
pm2 startup
PM2 outputs a command after pm2 startup. Copy and run it exactly as shown.
Verify it is running:
pm2 listYour app should show as online.
Step 10: Install and Configure Nginx (5-8 Minutes)
Nginx acts as a reverse proxy. It listens on port 80 and 443, then forwards traffic to your Next.js app running on port 3000.
sudo apt install nginx -yCreate a new Nginx config file:
sudo nano /etc/nginx/sites-available/your-appPaste this configuration:
server {
    listen 80;
    server_name yourdomain.com www.yourdomain.com;

    location / {
        proxy_pass http://127.0.0.1:3000;
        proxy_http_version 1.1;
        proxy_set_header Upgrade $http_upgrade;
        proxy_set_header Connection 'upgrade';
        proxy_set_header Host $host;
        proxy_set_header X-Real-IP $remote_addr;
        proxy_set_header X-Forwarded-For $proxy_add_x_forwarded_for;
        proxy_set_header X-Forwarded-Proto $scheme;
        proxy_cache_bypass $http_upgrade;
    }
}
Enable the config and test it:
sudo ln -s /etc/nginx/sites-available/your-app /etc/nginx/sites-enabled/
sudo nginx -t
sudo systemctl reload nginx
Next.js handles its own image optimization through the built-in <Image> component. Nginx does not need special configuration for this. The image optimization pipeline runs inside the Node.js process and caches results in .next/cache/images. If you want to offload static asset serving, you can add a location /_next/static/ block that serves files directly from disk, but it is not required for most deployments.
If you prefer to generate the Nginx config visually instead of writing it by hand, the CtrlOps Nginx Config Generator creates a ready-to-use reverse proxy configuration in seconds. Whichever way you write it, the Nginx Config Analyzer gives it an A to F security review, including missing headers and weak TLS settings.
Step 11: Connect Your Domain to the VPS (2-5 Minutes)
Go to your domain registrar (Namecheap, Cloudflare, GoDaddy) and update the DNS A record.
| Record Type | Host | Value |
|---|---|---|
| A | @ | your-server-ip |
| A | www | your-server-ip |
DNS propagation can take a few minutes to several hours. Check progress with:
dig yourdomain.com +shortStep 12: Install Certbot and Generate SSL (2-3 Minutes)
Use Certbot to get a free SSL certificate from Let's Encrypt.
sudo apt install certbot python3-certbot-nginx -y
sudo certbot --nginx -d yourdomain.com -d www.yourdomain.com
Certbot automatically updates your Nginx config for HTTPS and sets up HTTP-to-HTTPS redirects.
Test auto-renewal:
sudo certbot renew --dry-runCertbot renews on its own timer, but a renewal can fail silently. The CtrlOps SSL certificate expiring alert reminds you 14, 7, 3, and 1 days before expiry.
Certbot gets you a working certificate, not a hardened one. The TLS configuration checklist covers what to check afterwards: whether any ssl_protocols directive still allows TLS 1.0, whether the cipher list excludes the weak families, and whether every referenced certificate is outside the 30 day renewal window. The security headers checklist covers the eight response headers this server block does not send yet.
Step 13: Verify the Deployment (1 Minute)
Open https://yourdomain.com in your browser. Your Next.js app should load with a valid SSL certificate.
Final check:
pm2 listYour app should be online, Nginx proxying traffic, and SSL active. And you are done!
Where Do Next.js VPS Deployments Break?
The 13 steps above work. But Next.js introduces failure points that plain Node.js apps do not have. These are the issues that send you back to Stack Overflow or search on Google and AI Tool to find the solution.
The Build Fails Silently on Low-Memory Servers
Next.js production builds are memory-intensive. The framework compiles React Server Components, generates static pages, traces file dependencies, and bundles JavaScript in parallel. On a 1 GB VPS without swap, the Linux OOM killer terminates the build process. The only output you see is Killed. No error message, no stack trace, no hint about what went wrong.
The State of Frontend 2024 report found that Next.js remains the most widely adopted meta-framework, used by 52.9% of surveyed developers. Many of those developers deploy to entry-level VPS plans with 1 GB of RAM, where the build step is the first thing that fails.
NEXT_PUBLIC Variables Do Not Update on Restart
Standard Node.js apps read .env values at startup. Change a variable, restart the process, done. Next.js splits environment variables into two categories. Variables starting with NEXT_PUBLIC_ are inlined into the client-side JavaScript bundle during npm run build. Variables without the prefix are read at runtime by server-side code.
If you change NEXT_PUBLIC_API_URL after deployment and only restart PM2, the frontend keeps hitting the old API endpoint. You need to rebuild (npm run build) and then restart. This catches every developer at least once.
SSR Memory Usage Grows Over Time
Server-side rendering keeps the Node.js process alive and working on every request. Unlike a static site where Nginx serves files from disk, SSR means your Next.js process compiles and renders HTML for each page view. Memory usage creeps upward over hours and days.
Without PM2's max_memory_restart setting, a Next.js app on a 2 GB VPS can eventually consume all available memory and freeze. Setting pm2 start npm --name "your-app" --max-memory-restart 1G -- start automatically restarts the process before it starves the server.
Bottom line: Next.js VPS deployments require more RAM than equivalent Node.js apps. Budget 2 GB minimum for a small-to-medium Next.js app with SSR. If you run a database on the same server, 4 GB is the safe starting point.
How Does CtrlOps One-Click Deployment Handle Next.js?
CtrlOps reduces the 13-step manual process to a single form. You select Next.js as the application type, paste your GitHub URL, and click Deploy. CtrlOps handles the build, dependency installation, PM2 configuration, Nginx reverse proxy, and SSL certificate generation automatically. Total time: under 5 minutes.
Here is the exact process:
1. Open the deployment form: Connect to your server in CtrlOps. Go to File Manager and click Add Application in the toolbar.
2. Fill in basic information: Enter an application name (e.g., "My Next.js App"). Select the environment: Development, Staging, or Production. Choose GitHub auth method (HTTPS or SSH) and paste your repo URL.
3. Select Node.js version: Pick from the dropdown. A green checkmark flags Node versions that already exist on the server. Any version you select without a checkmark gets installed as part of the deployment sequence.
4. Choose Next.js as the application type: This is the critical step that differs from a plain Node.js deployment. When you select Next.js, CtrlOps automatically runs the build step (npm run build) before starting the app. The install command auto-fills as npm install. Toggle on Local Redis if your app needs it.
5. Add environment variables: Two options: add them one at a time (Key + Value fields) or click Bulk Paste and paste your entire .env file at once. CtrlOps sets these before the build runs, so NEXT_PUBLIC_ variables are correctly embedded.
6. Set up the domain and SSL: Toggle on Setup SSL certificates for domains (using Certbot). Enter the port your app listens on (e.g., 3000). Add your domain.
7. Click Deploy: CtrlOps opens a live deployment progress modal. A live progress modal shows terminal output for every phase: repo clone, dependency install, production build, PM2 startup, reverse proxy config, and certificate generation. Each phase flips green on success.
What CtrlOps Handles Behind the Scenes
When you click Deploy with Next.js selected, CtrlOps runs these steps in sequence:
- Clones the repo from GitHub
- Installs the selected Node.js version if not already on the server
- Runs
npm install(or your custom install command) - Runs
npm run buildto create the production bundle - Starts the app under PM2 with auto-restart and startup scripts
- Configures Nginx as a reverse proxy
- Runs Certbot for SSL (if toggled on)
Every step shows live terminal output. If the build fails because of a missing environment variable or a TypeScript error, the failing step turns red. You see the exact error message from npm run build, not a generic "deployment failed" dialog.
Reality check: DNS must already point to your server before SSL can work. If your domain's A record is not set up yet, deploy without SSL first. You can add it later from the AI Terminal by asking CtrlOps to run Certbot manually.
Vercel vs VPS: When Does Self-Hosting Next.js Save Money?
Vercel is the default hosting platform for Next.js. It is built by the same company that builds Next.js, and the deployment experience is excellent. But Vercel's pricing scales with traffic, team size, and usage. A VPS has a fixed monthly cost regardless of how many visitors hit your site.
The Vercel Pro plan costs $20 per seat per month with 1 TB of bandwidth included. Bandwidth overages cost $40 per 100 GB. A 3-person startup on Vercel Pro pays at least $60/month before any overages. Add a traffic spike from a successful Product Hunt launch, and the bill can jump to $200-500 in a single month.
A VPS from Hetzner ($4-7/month), DigitalOcean ($6-12/month), or AWS Lightsail ($5-10/month) has a fixed price. Traffic spikes do not change your hosting bill. A $7/month VPS with 2 GB RAM handles 100,000+ page views per month for a typical Next.js app with SSR.
| Factor | Vercel Pro | VPS + CtrlOps |
|---|---|---|
| Monthly cost (solo developer) | $20/month + usage | $7/month VPS + $7/user/month CtrlOps |
| Monthly cost (3-person team) | $60/month + usage | $7/month VPS + $21/month CtrlOps |
| Bandwidth overage | $40 per 100 GB over 1 TB | Not applicable (fixed price) |
| Traffic spike risk | Bill increases with traffic | Fixed cost regardless |
| SSR cold starts | Yes (serverless) | No (always-on process) |
| Full server access | No | Full root SSH access |
| Deployment time | ~2 minutes | ~5 minutes |
| Vendor lock-in | Moderate (Vercel-specific optimizations) | None (standard VPS) |
Vercel wins for solo developers who want zero infrastructure management, teams that need preview deployments on every pull request, and apps that benefit from Vercel's global edge network.
Self-hosting on a VPS wins for teams that need predictable costs, apps with consistent traffic that would generate overages on Vercel, projects that require full server access for custom configurations, and developers who manage multiple apps on the same server.
Bottom line: If your monthly Vercel bill exceeds $50 and your traffic is predictable, self-hosting on a VPS saves money within the first month. The break-even point is roughly 2-3 months of Vercel Pro versus a year of VPS hosting. CtrlOps eliminates the DevOps overhead that usually makes self-hosting impractical for small teams.
How Do You Update Your Next.js App After Deployment?
Deploying is the first time. Every code change after that needs a redeployment. Next.js redeployments have an extra step that plain Node.js apps do not: you must rebuild the production bundle every time.
Manual Update Process
ssh user@your-server-ip
cd /home/user/your-app
git pull origin main
npm install --omit=dev
npm run build
pm2 restart your-app
Six commands, every time. Forgetting npm run build is the most common mistake. Your app keeps serving the old version because PM2 restarted the process using the existing .next directory from the previous build.
For apps with live traffic, use pm2 reload your-app instead of pm2 restart. Restart kills the process and relaunches it, dropping active connections for a few seconds. Reload replaces processes one at a time (in cluster mode), so the app never goes fully offline.
Updating with CtrlOps
CtrlOps does not have a built-in re-deploy button yet. You can pull new commits with a click from the File Manager's git bar, or save the whole sequence as a reusable Script in the Script Directory:
cd /home/user/{{app_name}}
git pull origin main
npm install --omit=dev
npm run build
pm2 reload {{app_name}}
Save it once. Run it on any server with one click. The {{app_name}} placeholder lets you reuse the same script for different Next.js projects.
Alternatively, describe the task in plain English inside the AI Terminal: "pull latest changes, run the build, and reload PM2." CtrlOps translates that into the correct command sequence and waits for your approval before executing.
"The preview step is the whole game when AI touches live infra. CtrlOps gets it right: ask in plain English, see the exact command before it runs, approve."
- Vivek Chand, verified review on Product Hunt
Useful PM2 Commands for Next.js Apps
| Command | What It Does |
|---|---|
pm2 list | See all running apps and their status |
pm2 logs your-app | Tail live logs for debugging SSR errors |
pm2 restart your-app | Full restart (picks up new env vars and rebuilt code) |
pm2 reload your-app | Zero-downtime restart in cluster mode |
pm2 monit | Real-time dashboard showing CPU and memory per process |
pm2 start npm --name "app" --max-memory-restart 1G -- start | Auto-restart when memory exceeds 1 GB (critical for SSR) |
Bottom line: After updating NEXT_PUBLIC_ environment variables, you must rebuild (npm run build) and then restart PM2. A restart alone does not update client-side values. For server-only variables (without the NEXT_PUBLIC_ prefix), pm2 restart your-app is sufficient.
What Happens After Your Next.js App Is Live?
Deploying is step one. Keeping the server healthy is everything after that. Once your Next.js app is running, you need visibility into CPU, RAM, and disk usage - especially because SSR workloads consume more resources than static sites and memory usage creeps upward over days.
Manually, you SSH in and run htop, df -h, and free -m across each server. With three or more servers, this becomes a daily time sink, which is why most teams move to a visual server health check tool.
CtrlOps gives you a real-time infrastructure dashboard for every connected server. CPU load, memory usage, disk space, and running processes are visible without typing a single command. When your Next.js app's SSR process starts eating more RAM than expected, you see it before it crashes - not after.
Beyond monitoring, server access also needs management. If a contractor needs temporary SSH access to your staging server, or a junior developer should only connect to the dev environment, you need per-server user and key controls. The CtrlOps Access Management module lets you create SSH users, assign permissions, and manage keys visually - no adduser or sshd_config editing required.
Bottom line: Deployment is a one-time event. Server monitoring and access control are ongoing. CtrlOps handles both from the same interface you used to deploy, so you do not need to switch between tools for different server tasks.
When Does Manual Next.js Deployment Stop Scaling?
Manual deployment works for your first server. It breaks down when you manage three or more Next.js apps across different VPS instances.
A freelance developer managing 5 client Next.js apps deploys the same way each time: SSH in, pull, install, build, restart. That is 6 commands multiplied by 5 servers: roughly 2.5 to 4 hours of pure deployment work per update cycle. Each server has slightly different Node versions, different .env files, different Nginx configs. Keeping track of what is where becomes its own job.
An indie SaaS founder who deploys staging and production separately runs through 12 commands per code change (6 for staging, 6 for production). Each deploy takes 15-20 minutes including the build step. Over a month of daily deployments, that is 7.5-10 hours of repetitive terminal work.
Research by Gloria Mark at UC Irvine found that it takes an average of 23 minutes to refocus after a context switch. During a manual deployment, you switch between terminal, text editor, browser, DNS panel, and documentation at least 6 times. The cumulative recovery time often exceeds the deployment time itself.
CtrlOps eliminates this scaling problem. Every deployment is identical: fill the form, click Deploy. The fifth deployment takes the same 5 minutes as the first. No accumulated config drift across servers. No forgotten build steps on server number 4.
"Started using CtrlOps a few weeks ago, honestly didn't expect much. But my DevOps workflow has genuinely shifted - AI Terminal that understands plain English, server management without SSH juggling, backups, deployments, and file manager all in one place. I'm doing in 10 minutes what used to take an hour. If you manage servers, just try it."
- Chintan Poriya, Co-founder & CEO of BytezTech (original post on LinkedIn)
How Does CtrlOps Compare to Other Next.js Deployment Options?
| Approach | Deploy Time | Monthly Cost | Best For |
|---|---|---|---|
| Vercel | 1-2 min | Free tier, then $20+/seat | Teams wanting zero infrastructure management |
| CtrlOps | Under 5 min | $7/user/month (1 mo free) + VPS cost | Teams managing 1-25 servers, predictable costs |
| Manual (SSH + terminal) | 30-45 min | VPS cost only | Learning, custom setups, one-off deployments |
| Coolify / Dokploy | 5-10 min setup | Free (self-hosted) + VPS | Docker-first teams, open source preference |
| GitHub Actions CI/CD | 5-10 min setup, then automatic | Free tier (2,000 min/month) | Teams with existing CI/CD experience |
CtrlOps sits between "deploy manually every time" and "run a full PaaS." You keep your own VPS, your own pricing, and full server access. CtrlOps automates the repetitive build-install-configure cycle without locking you into a platform.
The key differentiator: CtrlOps deploys from GitHub with automatic build execution, Nginx, PM2, and SSL setup. No agents are installed on your server. No cloud sync of credentials. Everything stays local on your machine.
For a broader look at where CtrlOps fits alongside CI/CD tools and monitoring platforms, we covered 15 DevOps automation tools with real workflow comparisons.
When Should You Deploy Next.js Manually Instead?
CtrlOps one-click deployment covers Next.js apps deployed from GitHub with standard npm run build and npm start commands. For specific situations, manual deployment is still the right choice.
Docker-based deployments: If your setup uses Docker Compose with output: 'standalone' in next.config.js, you need a Dockerfile and manual orchestration. CtrlOps does not handle container builds. The standalone output mode creates a self-contained .next/standalone directory that reduces deployment size by 60-80%, but it requires copying static assets separately (cp -r .next/static .next/standalone/.next/static) and running node server.js instead of npm start.
Monorepo setups: If your Next.js app lives inside a Turborepo or Nx monorepo with custom build pipelines, the standard npm run build command may not work as expected. Manual configuration or a dedicated CI/CD pipeline gives you the control needed for these setups.
Non-standard server configurations: Custom Nginx caching rules for ISR (Incremental Static Regeneration), WebSocket proxy configuration for real-time features, or multi-app setups with different domains on the same server all need manual Nginx config editing.
Learning purposes: If you are deploying Next.js to a VPS for the first time, walk through all 13 steps manually at least once. Understanding the relationship between the build output, PM2, and Nginx makes you a better developer. Then automate the repetition.
Best Practice: Create a Non-Root Deploy User
Every command in this guide works as root, but running your Next.js app as root means one compromised npm package owns your entire server. Create a dedicated deploy user once, and every deployment on that server is safer.
adduser deploy
usermod -aG sudo deploy
Copy your SSH key to the new user and test the login:
ssh-copy-id deploy@your-server-ip
ssh deploy@your-server-ip
Once key-based login works, disable password authentication. Open the SSH config:
sudo nano /etc/ssh/sshd_configSet PasswordAuthentication no, save, then restart SSH:
sudo systemctl restart sshReality check: Test the key-based login in a second terminal before closing your current SSH session. If the key setup failed and password login is already disabled, you are locked out. Recovery means a provider console session.
This takes 5 minutes and you do it once per server. Skip it on a throwaway test box. Never skip it on a server that holds user data or client applications.
Skip the SSH commands: CtrlOps handles SSH user setup visually. Open your server, go to SSH Management, and click Add User: name the user, paste their key, and pick a role (Restricted, Standard, or Sudo) in one form. The SSH Management guide walks through it.
Conclusion
Deploying a Next.js app on a Linux VPS requires 13 steps and one extra gotcha that plain Node.js apps do not have: the mandatory production build. Miss npm run build, and your app serves development code. Get NEXT_PUBLIC_ variables wrong, and your frontend silently ignores your changes. The manual process takes 30-45 minutes and has not changed in years.
CtrlOps reduces this to one form and one click. Paste your GitHub URL, select Next.js as the application type, bulk-paste env variables, add a domain, and toggle on SSL. Click Deploy. The build, PM2, Nginx, and SSL are configured automatically. Total time: under 5 minutes.
If you are migrating from Vercel to cut costs, the manual route works but demands 30-45 minutes per server and deep familiarity with PM2, Nginx, and Certbot. CtrlOps gives you the fixed-cost predictability of a VPS with a deployment experience that takes minutes, not hours.
The manual process is worth learning once. The repetition is not.
Manual deployment on a Linux VPS takes 30-45 minutes for an experienced developer. This includes server updates, Node.js installation, cloning the repo, setting environment variables, running the production build, configuring PM2, Nginx as a reverse proxy, and SSL via Certbot. CtrlOps one-click deployment reduces this to under 5 minutes by automating the build step, PM2, Nginx, and SSL configuration through a guided form.
It depends on your app's features. If you use SSR, API routes, middleware, or Incremental Static Regeneration, you need a running Node.js process managed by PM2 or systemd. If your app is purely static with no server-side logic, you can set output: 'export' in next.config.js, run npm run build, and serve the generated out folder with Nginx directly. Most production Next.js apps require SSR.
The Killed message means the Linux OOM (Out of Memory) killer terminated the build process because the server ran out of RAM. Next.js production builds are memory-intensive. Fix this by creating a 2 GB swap file: sudo fallocate -l 2G /swapfile && sudo chmod 600 /swapfile && sudo mkswap /swapfile && sudo swapon /swapfile. For persistent swap, add it to /etc/fstab.
Variables prefixed with NEXT_PUBLIC_ are embedded into the JavaScript bundle during npm run build. They become part of the client-side code. If you change a NEXT_PUBLIC_ variable after building, you must run npm run build again and restart PM2 for the change to take effect. Server-only variables (without the prefix) are read at runtime and update with a simple pm2 restart.
For solo developers with low traffic, Vercel's free Hobby plan is cheaper. For teams of 2+ or apps with predictable traffic, a VPS is significantly cheaper. Vercel Pro costs $20 per seat per month plus bandwidth overages ($40 per 100 GB over 1 TB). A 2 GB VPS costs $4-12/month with no traffic-based pricing. A 3-person team on Vercel Pro pays at least $60/month; the same team on a VPS pays $7-12/month for hosting plus $21/month for CtrlOps.
When you select Next.js as the application type in CtrlOps, it automatically adds the npm run build step between dependency installation and app startup. For plain Node.js apps, this build step is skipped. CtrlOps also sets environment variables before the build runs, which ensures that NEXT_PUBLIC_ variables are correctly embedded in the client-side bundle.
Standalone mode (output: 'standalone' in next.config.js) creates a self-contained .next/standalone directory with only the files needed to run your app. It eliminates the need for node_modules at runtime and reduces deployment size by 60-80%. It is useful for Docker deployments. For standard VPS deployment with PM2 and npm start, standalone mode is optional. CtrlOps does not require it.
A small Next.js app with SSR uses 150-300 MB of RAM at runtime. The production build step needs more, roughly 1-2 GB during compilation. A 2 GB VPS is the practical minimum for running one Next.js app. If you also run a database (PostgreSQL, MySQL) on the same server, start with 4 GB. PM2's max-memory-restart flag prevents memory leaks from crashing the server.
Yes. You can run multiple Next.js apps on the same server by deploying each one through the Add Application form with a different app name and domain. Each app runs on its own port under PM2, and CtrlOps configures separate Nginx server blocks for each domain. A 4 GB VPS comfortably handles 2-3 small Next.js apps simultaneously.
SSH into your server, pull the latest code with git pull, run npm install --omit=dev, then npm run build, and finally pm2 reload your-app for zero-downtime restarts. With CtrlOps, you can save these 5 commands as a reusable Script in the Script Directory and run it with one click on any server, or type the request in plain English in the AI Terminal and approve the generated commands.