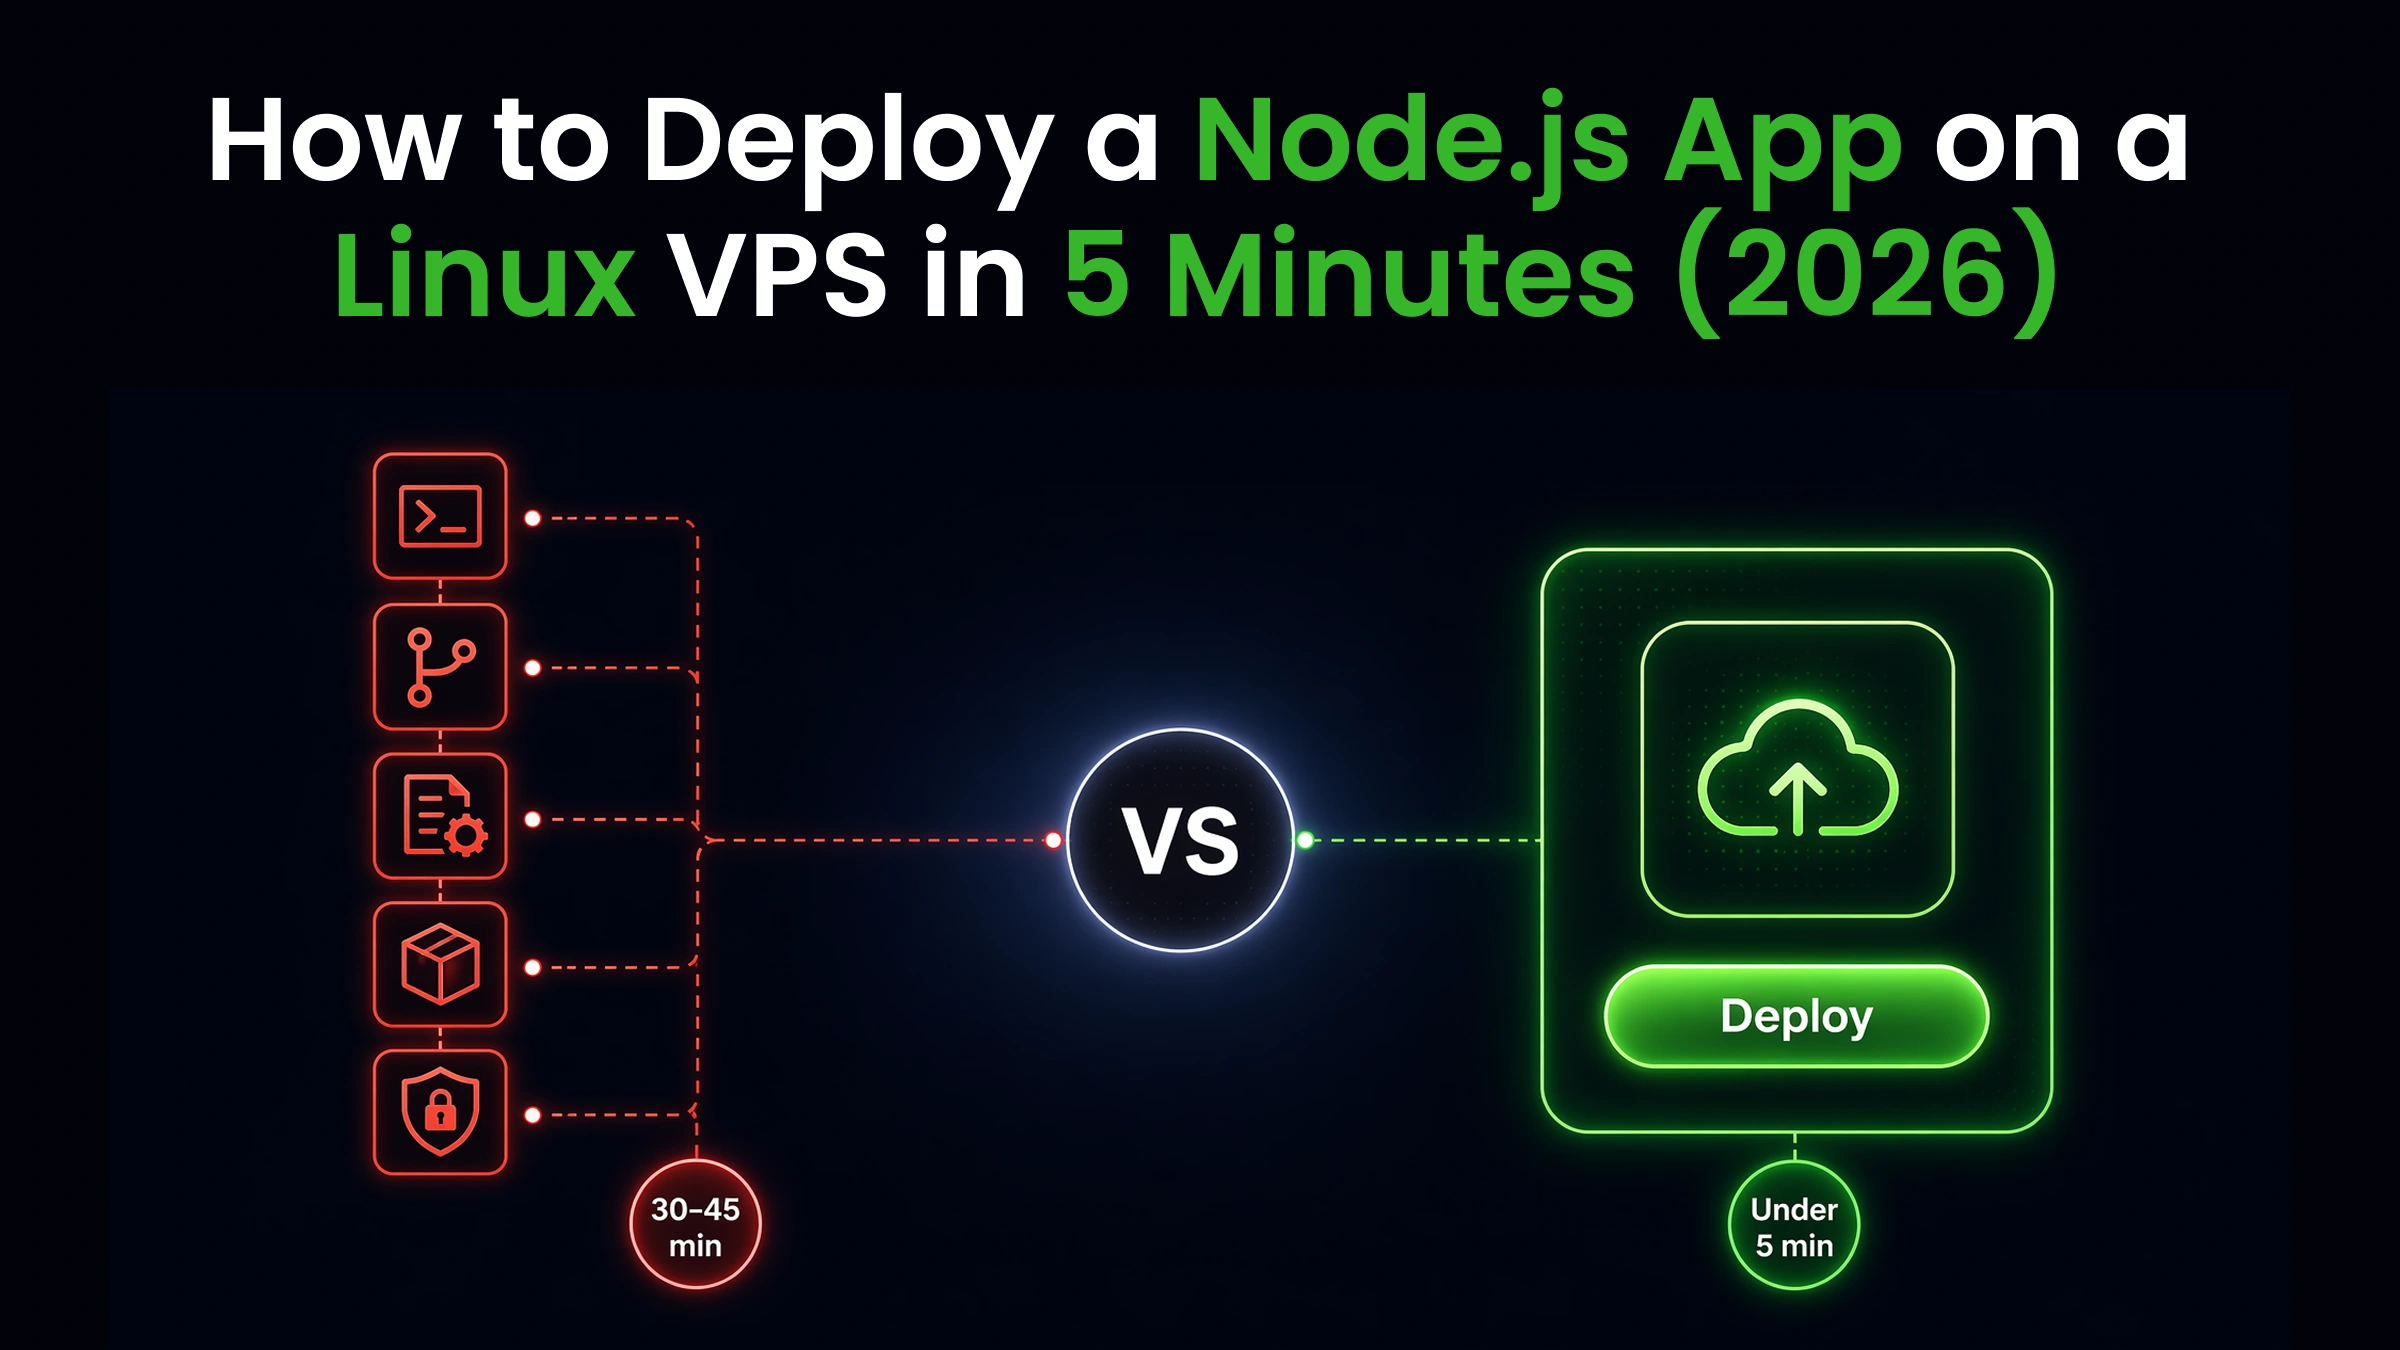

Deploying a Node.js app on a Linux VPS manually requires 13 steps: updating server packages, installing Node.js, cloning your repo, configuring environment variables, installing dependencies, setting firewall rules, testing, configuring PM2, setting up Nginx as a reverse proxy, connecting a domain, generating an SSL certificate with Certbot, and verifying.
The full process takes 30-45 minutes for experienced developers and over an hour for first-timers. If you want the framework-agnostic version first, the 5-step VPS deployment walkthrough covers the same four building blocks for any stack. CtrlOps one-click deployment reduces these 13 steps to a single form and one click, handling Node.js installation, PM2, Nginx, environment variables, and SSL automatically in under 5 minutes.
Key Takeaways
Deploying a Node.js application on a Linux VPS in 2026 still means running 13 manual commands across 5 different tools. The process is reliable but repetitive.
Manual deployment (all 13 steps) is the right choice when you are learning VPS deployment for the first time, need a custom server configuration, or work with non-Node.js frameworks. Total time: 30-45 minutes.
CtrlOps one-click deployment eliminates the repetition when you deploy Node.js, React, or Next.js apps from GitHub regularly. You fill a form and click Deploy. PM2, Nginx, and SSL are configured automatically. Total time: under 5 minutes.
| Step | Manual Process | With CtrlOps |
|---|---|---|
| Install Node.js | Run NodeSource setup script | Select version from dropdown |
| Clone repo | git clone via terminal | Paste GitHub URL in form |
| Environment variables | Create .env manually via nano | Bulk paste entire .env file |
| Install dependencies | npm install via terminal | Auto-runs during deploy |
| PM2 setup | Install, configure, set startup script | Handled automatically |
| Nginx reverse proxy | Write config file, test, reload | Handled automatically |
| DNS setup | Update A record at registrar | Update A record at registrar |
| SSL certificate | Install Certbot, run CLI commands | Toggle on, auto-configured |
| Total time | 30-45 minutes | Under 5 minutes |
| Tools required | 5+ (terminal, editor, browser, DNS panel, docs) | 1 (CtrlOps) |
Why Is Deploying Node.js on a VPS Still a 13-Step Process?
You finished building your Node.js app. It runs perfectly on localhost:3000. Now you need it live on a VPS with HTTPS, auto-restarts, and a real domain.
So you open a terminal, SSH into your server, and start searching.
A few minutes later, you are six browser tabs deep. One tutorial covers Node installation. Another explains PM2. A third shows the Nginx reverse proxy config. None of them matches your exact setup. You copy-paste an Nginx block, get a 502 error, and spend another 20 minutes realizing it was a missing semicolon.
If you are a freelance developer shipping a client project, a startup founder getting your MVP live, or an agency developer deploying to staging for the third time this week, you know this scenario.
The manual process has not changed in years. It still takes 13 steps, 30-45 minutes, and working knowledge of five different tools. We walked through the full 13-step manual deployment and timed each step. Then we did the same deployment using CtrlOps one-click deployment.
This guide covers both approaches. You will learn every manual step so you understand what actually happens on your server. Then you will see how to skip most of it.
What Do You Need Before Deploying Node.js on a VPS?
Every Node.js VPS deployment starts with the same prerequisites, whether you deploy manually or use a tool. Get these ready first to avoid mid-deployment blockers.
- A Linux VPS running Ubuntu 22.04 or 24.04 LTS with at least 1 GB of RAM. Providers like DigitalOcean, Linode, Hetzner, or AWS Lightsail all work.
- SSH access to your server. You should be able to run
ssh user@your-server-ipfrom your local terminal. - Your Node.js app in a GitHub repository. Public repos work immediately. Private repos need a deploy key or a GitHub personal access token.
- A domain name (optional but recommended). Point the DNS A record to your server's public IP before starting the SSL step.
Bottom line: Ubuntu 24.04 LTS is the most commonly used OS for Node.js VPS hosting in 2026. If your provider gives you a choice, pick it. Every command in this guide is written for Ubuntu/Debian-based systems.
How to Deploy Node.js on a VPS Manually: The Full 13-Step Process
Manual Node.js deployment on a Linux VPS involves 13 steps across server preparation, application setup, process management, reverse proxy configuration, and SSL. An experienced developer finishes in 30-45 minutes. Someone doing it for the first time should expect over an hour.
Every step below includes the exact commands. If you have done this before, skip the explanations and copy the commands directly.
Step 1: Update Server Packages (2 Minutes)
Update your server to get the latest security patches and package versions before installing anything.
sudo apt update && sudo apt upgrade -ySkipping this step is how you end up with dependency conflicts 20 minutes into the process.
Step 2: Install Node.js and Git (3 Minutes)
Install Node.js using the NodeSource repository. This gives you the LTS version instead of the outdated version in Ubuntu's default repos.
curl -fsSL https://deb.nodesource.com/setup_24.x | sudo -E bash -
sudo apt install -y nodejs git
Verify the installation:
node --version
npm --version
git --version
Node.js 24 LTS is the recommended version for production deployments in 2026. Node.js 24 LTS (codename Krypton) entered Long-Term Support in October 2025 and is supported through April 2028.
Step 3: Clone Your Node.js Project (1 Minute)
Clone your application code from GitHub.
git clone https://github.com/your-username/your-app.gitFor private repos, use a GitHub personal access token:
git clone https://<your-token>@github.com/your-username/your-app.gitStep 4: Navigate to the Project Directory (10 Seconds)
cd your-appIf you manage multiple apps on the same server, keep a clean directory structure. Use /home/deploy/your-app or /var/www/your-app as a consistent convention.
Step 5: Configure Environment Variables (3-5 Minutes)
Create a .env file with your application's required variables.
nano .envAdd your variables:
DATABASE_URL=postgres://user:pass@host:5432/db
API_KEY=sk_live_abc123
NODE_ENV=production
PORT=3000
Save and exit (Ctrl+X, then Y, then Enter).
This is where most deployments slow down. You need to find the right variable names, copy values from your local setup, and make sure nothing has quotes that break the parsing. One missing variable means a startup crash that takes 10 minutes to debug.
Step 6: Install Project Dependencies (2-4 Minutes)
npm installOn servers with 1 GB of RAM, npm install can fail with a single-word error: Killed. That is the Linux OOM killer stopping the process when memory runs out. A 2 GB swap file fixes it:
sudo fallocate -l 2G /swapfile
sudo chmod 600 /swapfile
sudo mkswap /swapfile
sudo swapon /swapfile
echo '/swapfile none swap sw 0 0' | sudo tee -a /etc/fstab
The last command keeps the swap active after reboots. Set it up once. It costs nothing and prevents the most common install failure on entry-level VPS plans.
Step 7: Open Firewall Ports (1 Minute)
Configure UFW to allow SSH, HTTP, and HTTPS traffic.
sudo ufw allow OpenSSH
sudo ufw allow 80/tcp
sudo ufw allow 443/tcp
sudo ufw enable
Type y to confirm.
Reality check: If you enable the firewall without allowing OpenSSH first, you will lock yourself out of your own server. Always run sudo ufw allow OpenSSH before sudo ufw enable. Recovering from this mistake requires a provider console or VNC session.
Step 8: Test the Application on the Server (1 Minute)
Start the app to verify everything works before configuring PM2 and Nginx.
npm startThe firewall from Step 7 blocks port 3000, so test it from the server: in a second terminal, run curl -I http://localhost:3000. If it responds, your app is working. To see it in your own browser, open an SSH tunnel with ssh -L 3000:localhost:3000 user@your-server-ip and visit http://localhost:3000, or save it as a forward in CtrlOps Port Forwarding. Press Ctrl+C to stop the app.
If it crashes, check the error output. The most common issues: missing environment variables, wrong Node.js version, or a dependency that did not install correctly.
Step 9: Install and Configure PM2 (3 Minutes)
PM2 keeps your app running in the background, restarts it on crashes, and ensures it starts after a server reboot.
sudo npm install -g pm2
pm2 start npm --name "your-app" -- start
pm2 save
pm2 startup
PM2 outputs a command after pm2 startup. Copy and run it exactly as shown.
Verify it is running:
pm2 listYour app should show as online.
That pm2 startup command registers a systemd unit, so your app is now one more service on a host that already runs a couple of dozen. The services and processes audit checklist covers what to check as that list grows: which processes listen on public ports and under which user, how many daemons are running, and whether anything scheduled itself in cron without you.
Step 10: Install and Configure Nginx (5-8 Minutes)
Nginx acts as a reverse proxy. It listens on port 80 and 443, then forwards traffic to your Node.js app running on port 3000.
sudo apt install nginx -yCreate a new Nginx config file:
sudo nano /etc/nginx/sites-available/your-appPaste this configuration:
server {
    listen 80;
    server_name yourdomain.com www.yourdomain.com;

    location / {
        proxy_pass http://127.0.0.1:3000;
        proxy_http_version 1.1;
        proxy_set_header Upgrade $http_upgrade;
        proxy_set_header Connection 'upgrade';
        proxy_set_header Host $host;
        proxy_set_header X-Real-IP $remote_addr;
        proxy_set_header X-Forwarded-For $proxy_add_x_forwarded_for;
        proxy_set_header X-Forwarded-Proto $scheme;
        proxy_cache_bypass $http_upgrade;
    }
}
Enable the config and test it:
sudo ln -s /etc/nginx/sites-available/your-app /etc/nginx/sites-enabled/
sudo nginx -t
sudo systemctl reload nginx
Tip: If Nginx fails to reload or you see an error, check your syntax with sudo nginx -t to pinpoint the issue.
Step 11: Connect Your Domain to the VPS (2-5 Minutes)
Go to your domain registrar (Namecheap, Cloudflare, GoDaddy) and update the DNS A record.
| Record Type | Host | Value |
|---|---|---|
| A | @ | your-server-ip |
| A | www | your-server-ip |
DNS propagation can take a few minutes to several hours. Check progress with:
dig yourdomain.com +shortStep 12: Install Certbot and Generate SSL (2-3 Minutes)
Use Certbot to get a free SSL certificate from Let's Encrypt.
sudo apt install certbot python3-certbot-nginx -y
sudo certbot --nginx -d yourdomain.com -d www.yourdomain.com
Certbot automatically updates your Nginx config for HTTPS and sets up HTTP-to-HTTPS redirects.
Test auto-renewal:
sudo certbot renew --dry-runA dry run that passes today is not a guarantee for the next 90 days. The application security audit checklist covers what to re-check later: whether the renewal timer is still active, whether any certificate has slipped inside the 30-day window, and whether the Node version you installed here has since gone end-of-life. To be told when a renewal slips, the CtrlOps SSL certificate expiring alert reminds you 14, 7, 3, and 1 days before expiry.
Step 13: Verify the Deployment (1 Minute)
Open https://yourdomain.com in your browser. Your Node.js app should load with a valid SSL certificate.
Final check:
pm2 listYour app should be online, Nginx proxying traffic, and SSL active.
And you are done!
What Goes Wrong During Manual Node.js Deployment?
The 13 steps above look clean on paper. In practice, manual Node.js VPS deployment breaks in predictable ways that add 30-45 minutes to every deployment.
You Context-Switch Between 5+ Tools Constantly
A manual deployment requires your terminal, a text editor (nano or vim), a browser for documentation, your DNS provider's dashboard, and often ChatGPT or Stack Overflow for troubleshooting.
Research from UC Irvine shows every context switch costs an average of 23 minutes to fully refocus. During a deployment, you switch contexts 6-8 times minimum.
The Nginx Config Is a Silent Failure Point
Nginx configuration causes more deployment failures than any other step. A missing semicolon, a wrong port number, or an incorrect server_name produces a 502 Bad Gateway error with no helpful error message.
You run nginx -t, read the output, guess what is wrong, edit the file, and test again. For developers who deploy once a month, this means re-learning the config syntax every single time.
Environment Variables Get Lost in Transit
Copying .env values from your local machine to the server via nano is error-prone. A missing quote, an extra space, or a forgotten variable causes a startup crash. The error message rarely says "missing env variable." It says something like Cannot read properties of undefined.
Every Deployment Is the Same 13 Steps, Every Time
The steps do not change between deployments. Server update, Node install, clone, env setup, PM2, Nginx, SSL.
For a freelancer deploying client apps to new VPS instances, or a startup deploying to staging three times a week, this repetition adds up. A developer deploying weekly spends 24-36 hours per year on the same 13 steps.
Bottom line: The manual process works. It is reliable and gives you full control. But for developers who deploy more than once a month, the 30-45 minutes per deployment quietly becomes one of the biggest time sinks in the workflow. According to the Node.js Survey, 68% of developers report that Node.js increases their productivity, largely due to using full-stack JavaScript. But that productivity gain disappears when the deployment process itself is the bottleneck.
How Does CtrlOps One-Click Deployment Work?
CtrlOps reduces the 13-step manual process to a single form. You fill in your app details, click Deploy, and CtrlOps handles Node.js installation, dependency setup, PM2 configuration, Nginx reverse proxy, and SSL certificate generation automatically. Total time: under 5 minutes.
Here is the exact process:
1. Open the deployment form. Connect to your server in CtrlOps. Go to File Manager and click Add Application in the toolbar.
If you need help connecting your server to CtrlOps, you can refer to the First Connection Guide for a step-by-step walkthrough.
2. Fill in basic information. Enter an Application Name (e.g., "My Node.js App"). Select the Environment: Development, Staging, or Production. Choose GitHub auth method (HTTPS or SSH) and paste your repo URL.
3. Select Node.js version. Pick from the dropdown. Versions already installed on the server show a green checkmark. Missing versions get installed automatically during deployment.
4. Configure the build.
Select Node.js as the Application Type. The install command auto-fills as npm install (change to yarn install or pnpm install if needed). Enter the start command (e.g., npm start). Toggle on Local Redis if your app needs it.
5. Add environment variables.
Two options: add them one at a time (Key + Value fields) or click Bulk Paste and paste your entire .env file at once. No more typing variables into nano line by line.
6. Set up the domain and SSL.
Toggle on Setup SSL certificates for domains (using Certbot). Enter the port your app listens on (e.g., 3000). Add your domain. Adding yourdomain.com automatically covers www.yourdomain.com.
7. Click Deploy. CtrlOps opens a live deployment progress modal. You watch each step complete in real-time: clone, install, build, start, Nginx config, SSL certificate. When the last step turns green, your app is live.
What CtrlOps Handles Behind the Scenes
When you click Deploy, CtrlOps runs the same steps you would run manually. It is not magic. It is automation of a known, repeatable process:
- Clones the repo from GitHub
- Installs the selected Node.js version if not already on the server
- Runs
npm install(or your custom install command) - Runs the build command (for React/Next.js apps)
- Starts the app under PM2 with auto-restart and startup scripts
- Configures Nginx as a reverse proxy
- Runs Certbot for SSL (if toggled on)
Every step shows live terminal output. If something fails, the failing step turns red, and you can see exactly which command errored.
Reality check: DNS must already point to your server before SSL can work. If your domain's A record is not set up yet, deploy without SSL first. You can add it later from the AI Terminal by asking CtrlOps to run Certbot manually.
"Deployments don't stress me out anymore, and that feels weird to say. Paste repo, fill env, toggle SSL, done. Genuinely cannot remember the last time something broke mid-deploy since switching to this."
- Bhavesh, verified review on Product Hunt
Best Practice Tip: Create a Non-Root Deploy User
Every command in this guide works as root, but running your app as root means one compromised npm package owns your entire server. Create a dedicated deploy user once, and every deployment on that server is safer.
adduser deploy
usermod -aG sudo deploy
Copy your SSH key to the new user and test the login:
ssh-copy-id deploy@your-server-ip
ssh deploy@your-server-ip
Once key-based login works, disable password authentication. Open the SSH config:
sudo nano /etc/ssh/sshd_configSet PasswordAuthentication no, save, then restart SSH:
sudo systemctl restart sshReality check: Test the key-based login in a second terminal before closing your current SSH session. If the key setup failed and password login is already disabled, you are locked out, and recovery means a provider console session.
This takes 5 minutes and you do it once per server. Skip it on a throwaway test box. Never skip it on a server that holds client data.
Skip the commands entirely: CtrlOps handles this whole setup visually. Open your server, go to SSH Management, and click Add User: name the user, paste their key, and pick a role (Restricted, Standard, or Sudo) in one form. The SSH Management guide walks through it.
How Do You Update Your Node.js App After Deployment?
Deploying is the first time. Every code change after that needs a redeployment. Here is how updates work with both approaches.
Manual Update Process
ssh user@your-server-ip
cd /home/user/your-app
git pull origin main
npm install --omit=dev
npm run build        # if you have a build step
pm2 restart your-app
Five commands, every time. Forgetting npm install after adding a new dependency causes a crash. Forgetting npm run build for a Next.js app serves stale code.
One upgrade for apps with live traffic: use pm2 reload your-app instead of pm2 restart. Restart kills the process and relaunches it, dropping active connections for a few seconds. Reload replaces processes one at a time (in cluster mode), so the app never goes fully offline. For a side project the difference is invisible. For a client's production app, it is a zero-downtime deploy.
Updating with CtrlOps
CtrlOps does not have a built-in re-deploy button yet. You can pull new commits with a click from the File Manager's git bar, or save the whole sequence as a reusable Script in the Script Directory:
cd /home/user/your-app
git pull origin main
npm install --omit=dev
npm run build
pm2 restart your-app
Save it once. Run it on any server with one click. Add variable placeholders like {{app_name}} for different projects.
Or use the AI Terminal: type "pull latest code and restart my app." CtrlOps generates the exact commands. You approve before anything runs.
Useful PM2 Commands for Ongoing Management
| Command | What It Does |
|---|---|
pm2 list | See all running apps and their status |
pm2 logs your-app | Tail live logs for debugging |
pm2 restart your-app | Restart the app (picks up new env vars and code) |
pm2 reload your-app | Zero-downtime restart; replaces processes one at a time in cluster mode |
pm2 stop your-app | Stop without removing from PM2 |
pm2 delete your-app | Remove the app from PM2 entirely |
pm2 monit | Real-time dashboard showing CPU and memory per process |
pm2 save | Save the current PM2 process list so applications automatically restart after a server reboot. |
pm2 startup | Generate and configure the startup script to launch PM2 automatically when the server boots. |
Bottom line: Changing environment variables does not restart the app automatically. After editing .env values, either manually or through CtrlOps File Manager, run pm2 restart your-app to pick up the new values.
Why Does Manual Deployment Stop Working at Scale?
Manual deployment works fine for your first server. It breaks down at three or more.
A freelance developer managing 8 client servers deploys the same way each time. That is 13 steps multiplied by 8 servers: roughly 4-6 hours of pure deployment work per cycle. Each server has slightly different Node versions, different Nginx configs, different SSL setups. Keeping track of what is where becomes its own job.
A startup that deploys to its staging environment three times a week typically spends 90-135 minutes on deployment tasks each week. Over a month, that's 6-9 hours that could be invested in building new features instead.
Research by Gloria Mark at UC Irvine found that it takes an average of 23 minutes to refocus after a context switch. For developers, this disruption is particularly costly because programming requires maintaining complex mental models that collapse when jumping between tools. During a manual deployment, you switch between terminal, text editor, browser, DNS panel, and documentation at least 6 times. The cumulative recovery time often exceeds the deployment time itself.
CtrlOps eliminates the scaling problem. Every deployment is identical: fill the form, click Deploy. The tenth deployment takes the same 4-5 minutes as the first. No accumulated config drift across servers. No forgotten PM2 startup scripts on server number 6.
"For months, deployments terrified me - I'm not a DevOps guy. Every push to production made my stomach drop, so I delayed, avoided, and shipped less. Now I manage every deployment myself. No hiring, no favors, no waiting on someone else's calendar. The thing I was most scared of became the thing I do without thinking."
- Niraj Sheladiya, Co-founder of AutoReels (original post on X)
How Does CtrlOps Compare to Other Deployment Options?
| Approach | Deploy Time | Cost | Best For |
|---|---|---|---|
| Manual (SSH + terminal) | 30-45 min | Free | Learning, custom setups, non-Node frameworks |
| CtrlOps | Under 5 min | $7/user/month (1 mo free) | Teams managing 1-25 servers, repeat deployments |
| Vercel/Netlify | 2-3 min | Free tier, then $20+/month | Frontend/JAMstack, serverless functions |
| GitHub Actions CI/CD | 5-10 min setup, then automatic | Free tier (2,000 min/month) | Teams with existing CI/CD experience |
| Forge/RunCloud | 5-10 min | $12-19/month | PHP/Laravel-focused teams |
CtrlOps sits between "do everything manually" and "use a full PaaS." You keep your own VPS, your own pricing, and full control. CtrlOps automates the repetitive configuration without locking you into a platform.
The key differentiator: CtrlOps deploys from GitHub with automatic Nginx, PM2, and SSL setup. No agents are installed on your server, unlike agent-based panels such as RunCloud (see CtrlOps vs RunCloud). No cloud sync of credentials. Everything stays local on your machine.
For a broader comparison of where CtrlOps fits alongside CI/CD tools, IaC, and monitoring, we covered 15 DevOps automation tools with real workflow comparisons.
When Should You Deploy Manually Instead?
CtrlOps one-click deployment covers Node.js, React, Next.js, and static build-folder apps deployed from GitHub. For specific situations, manual deployment is still the right choice.
Custom server architectures: If your setup requires Docker Compose, Kubernetes, or multi-container orchestration, you need manual control or a dedicated CI/CD pipeline. CtrlOps does not handle container orchestration.
Non-Node.js applications: Python/Django, Go, Ruby on Rails, or PHP apps sit outside the one-click deployment scope. You can still use the AI Terminal to assist with manual deployment of these frameworks.
Air-gapped or restricted environments: Some compliance setups restrict what tools can run on servers. In these cases, scripted manual deployment through SSH is the standard approach.
Learning purposes: If you are deploying for the first time, walk through all 13 steps manually at least once. Understanding what PM2, Nginx, and Certbot actually do makes you a better developer. Then automate the repetition.
Conclusion
Deploying a Node.js app on a Linux VPS requires 13 steps. Server updates, Node installation, repo cloning, environment variables, dependency installation, firewall rules, PM2 setup, Nginx configuration, domain DNS, SSL certificates, and verification. The process takes 30-45 minutes manually and has not changed in years.
Every step is well-documented and reliable. But reliable does not mean efficient. When you deploy to multiple servers, deploy weekly, or deploy without deep Linux experience, the manual process becomes the bottleneck.
CtrlOps reduces this to one form and one click. Paste your GitHub URL, select a Node version, bulk-paste env variables, add a domain, and toggle on SSL. Click Deploy. PM2, Nginx, and SSL are configured automatically. Total time: under 5 minutes.
"I'm a designer, I don't write code. Deployment was always my wall - I'd wait on a friend to handle the server stuff. But I opened CtrlOps, asked the AI Terminal in plain English what to do, and it walked me through everything step by step. I deployed my website. By myself. For the first time."
- Urvesh Kavar, UI/UX Product Designer (original post on LinkedIn)
The manual process is worth learning. The repetition is not.
Manual deployment on a Linux VPS takes 30-45 minutes for an experienced developer. This includes server updates, Node.js installation, cloning the repo, setting environment variables, configuring PM2, Nginx as a reverse proxy, and SSL via Certbot. CtrlOps one-click deployment reduces this to under 5 minutes by automating PM2, Nginx, and SSL configuration through a guided form.
Ubuntu 24.04 LTS is the most widely used Linux distribution for Node.js VPS hosting in 2026. It offers long-term security support until April 2029, broad package compatibility, and the largest community of deployment tutorials. Ubuntu 22.04 LTS is also a solid choice if your provider does not offer 24.04 yet.
Technically, no. Your Node.js app can serve traffic directly on port 3000. But for production use, Nginx is strongly recommended. It handles SSL termination, serves static files faster than Node, provides basic load balancing, and lets you run multiple apps on the same server with different domains. CtrlOps configures Nginx automatically during one-click deployment.
Without a process manager, Node.js runs in the foreground. Closing your SSH session kills the process. PM2 solves this by running your app in the background, restarting it on crashes, and starting it after server reboots. Run pm2 start npm --name your-app -- start, then pm2 save and pm2 startup to persist it.
CtrlOps provides a deployment form inside its File Manager. You enter your GitHub repo URL, select the Node.js version, paste environment variables (individually or bulk), add a domain, and toggle on SSL. Click Deploy, and CtrlOps clones the repo, installs dependencies, starts the app under PM2, configures Nginx as a reverse proxy, and runs Certbot for HTTPS. All steps show live progress. Pricing is $7/user/month with a 1 month free trial.
PM2 is a production process manager for Node.js. It keeps your app running in the background, auto-restarts it on crashes, supports cluster mode for multi-core CPUs, manages logs, and starts the app after server reboots. Without PM2, your Node.js app stops the moment your SSH session ends or the process crashes.
CtrlOps is a desktop application, not a hosting provider. You use your own VPS from any provider: DigitalOcean, AWS, Hetzner, Linode, or any server you can SSH into. CtrlOps connects via SSH and provides a visual interface for deployment, file management, monitoring, and AI-assisted operations. All credentials and data stay on your local machine.
CtrlOps deploys to one server at a time through the Add Application form. However, you can use the Script Directory to save deployment commands as reusable scripts with variable placeholders. Run the same script across any server with one click, changing only the app name or environment variables per server. This makes repeat deployments across a fleet consistent and fast.