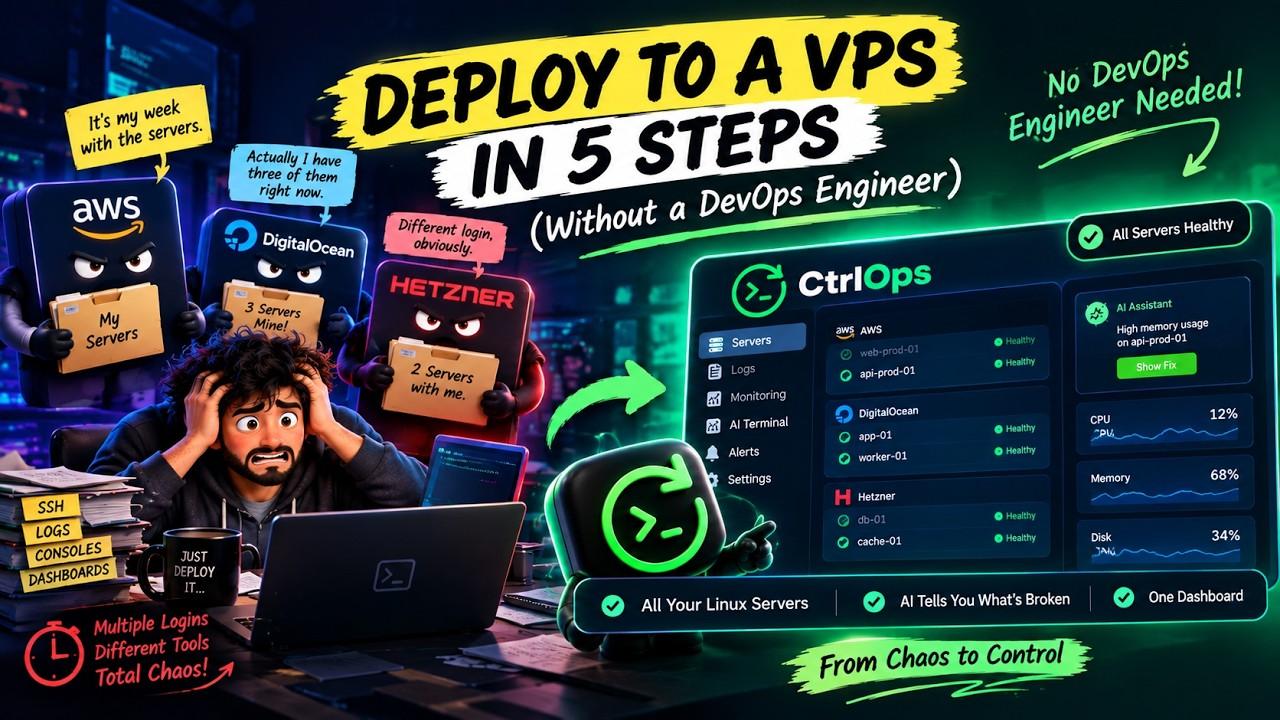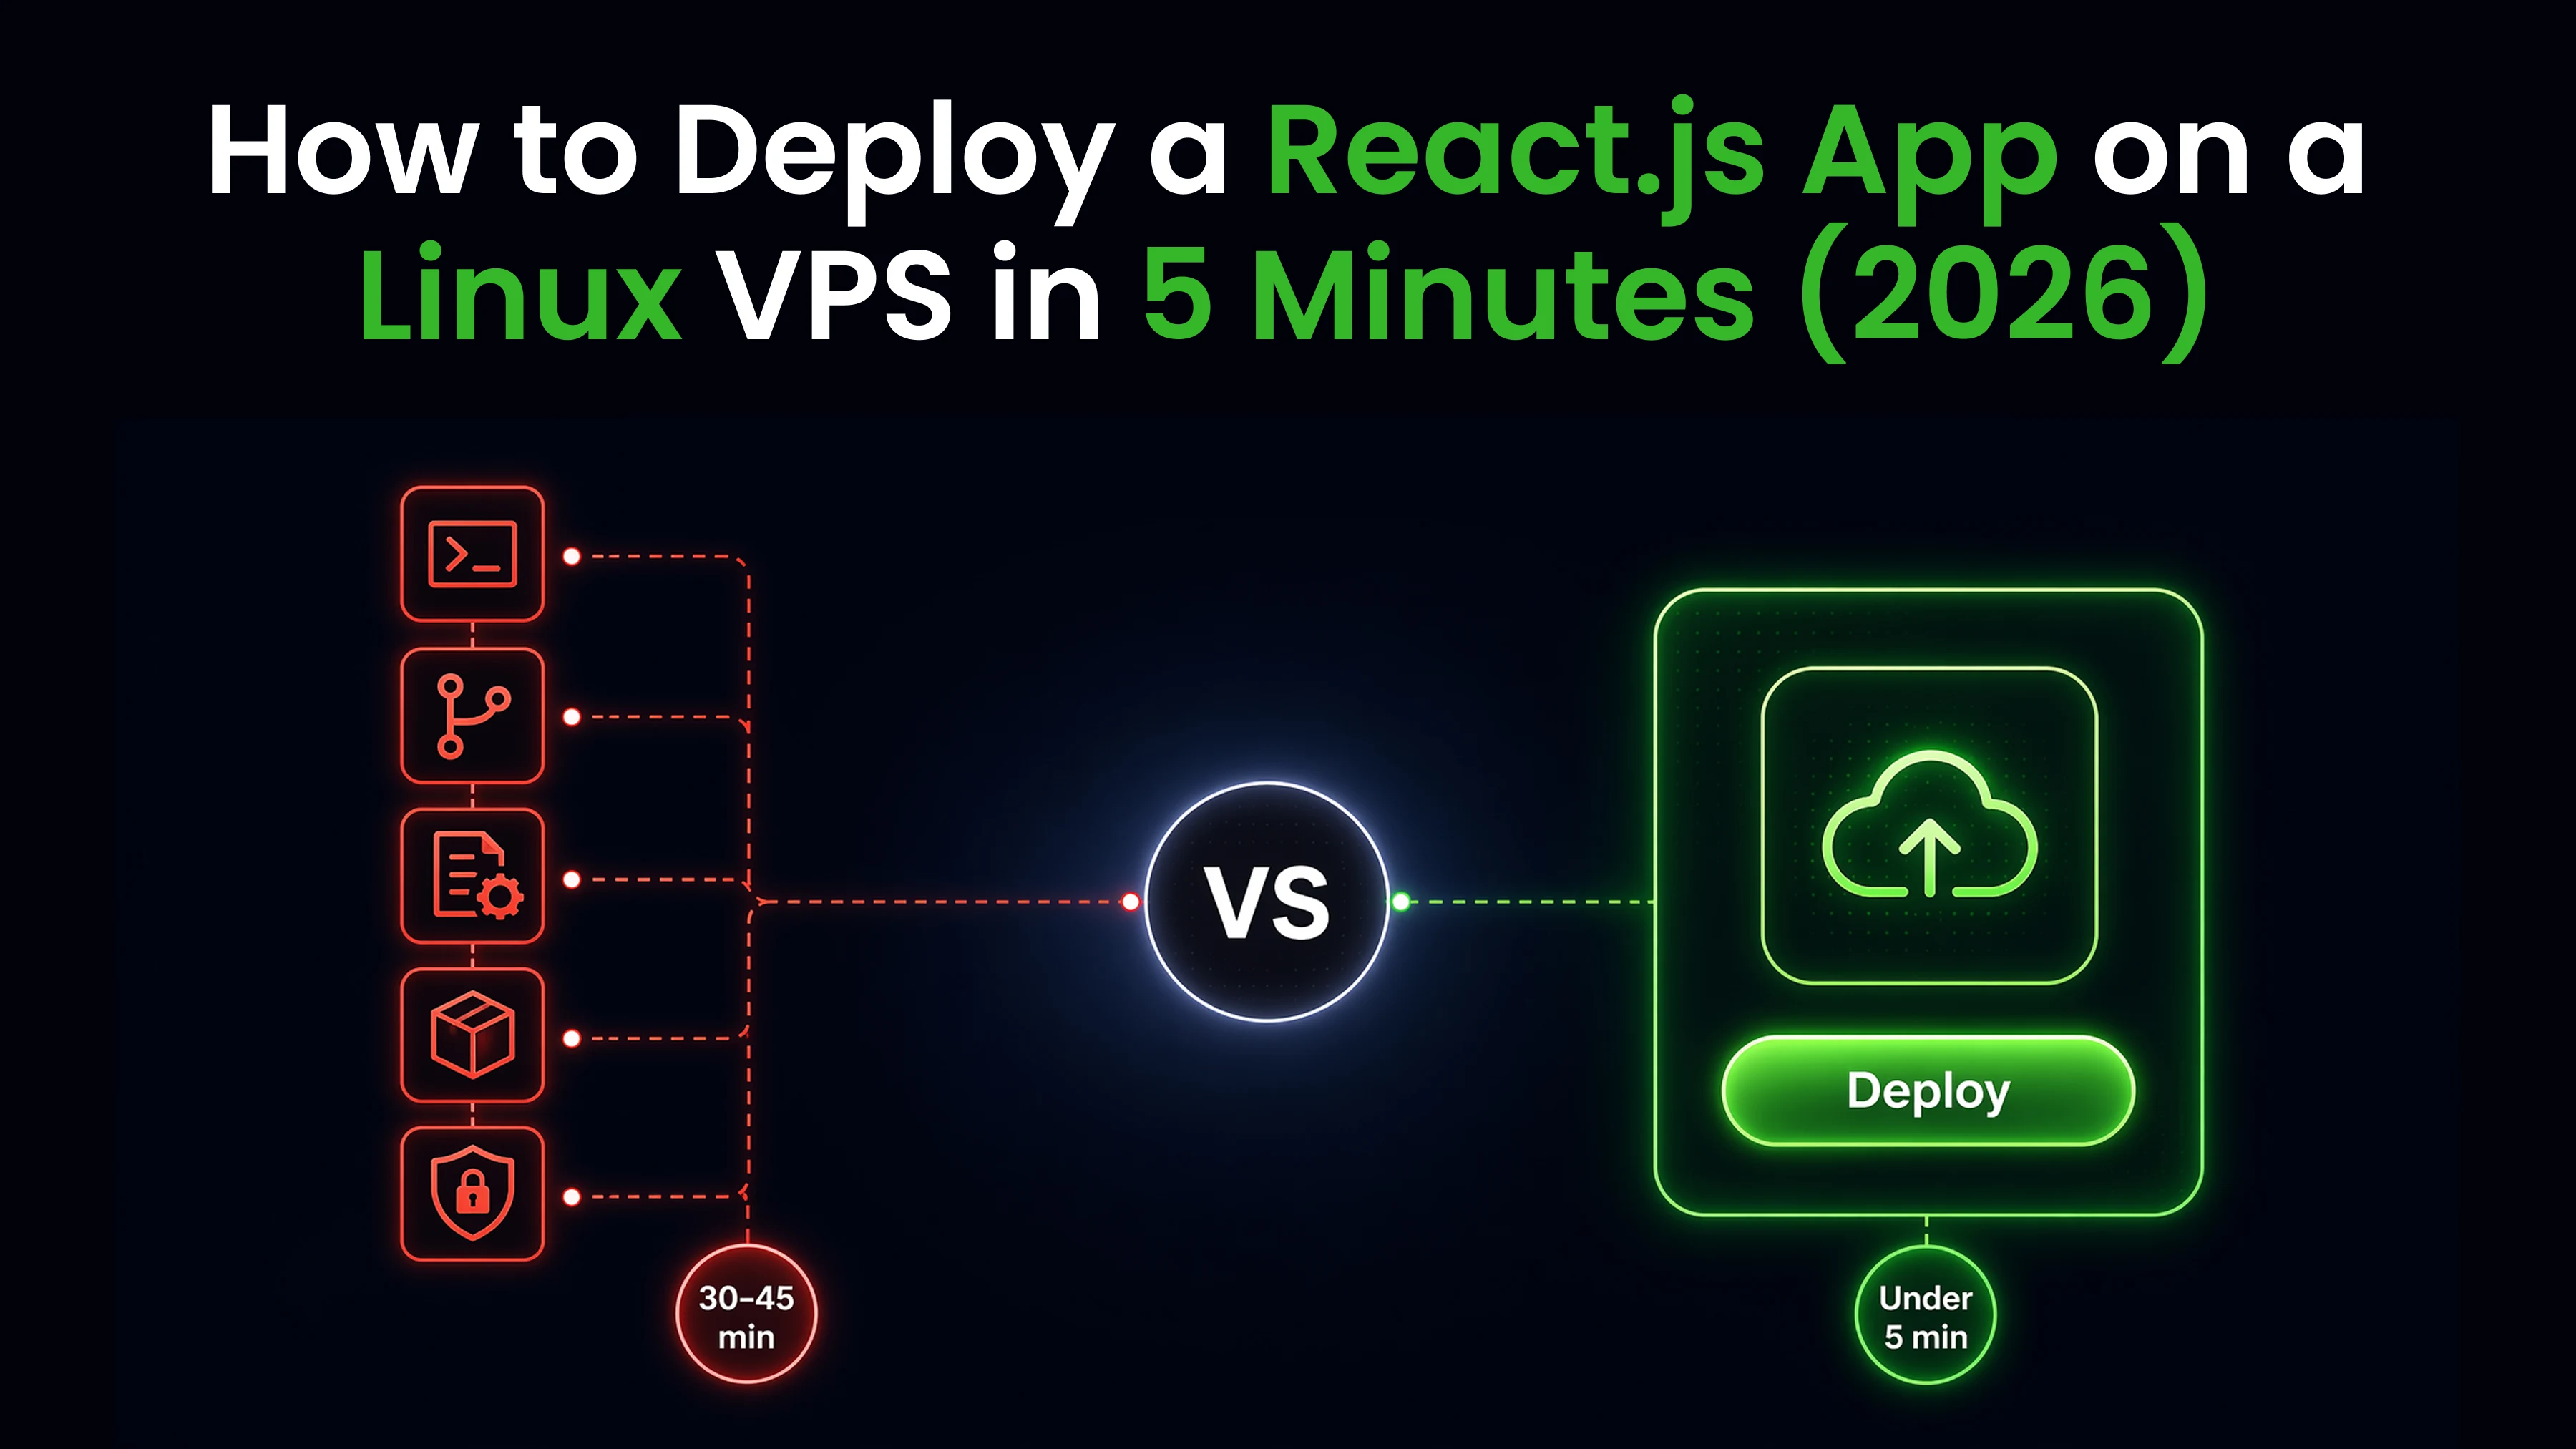

To deploy a React app on a Linux VPS manually, you run npm run build to generate static files, copy the output to a web directory, configure Nginx with an SPA routing fallback (try_files $uri $uri/ /index.html), and secure it with Certbot SSL. Total time: 20-30 minutes manually, or under 5 minutes with CtrlOps one-click deployment.
A production React build is not a running program. It is a folder of pre-built files. Deployed by hand, that means there is no process to keep alive and no port to proxy: the entire job is building the files correctly and telling Nginx how to serve them.
Key Takeaways
Deploying a React app on a Linux VPS in 2026 is simpler than deploying Node.js or Next.js, but it has its own trap: client-side routing. Get the Nginx config wrong, and refreshing any page other than the homepage throws a 404. Get the environment variable prefix wrong, and your production build silently ships undefined instead of your API URL.
Manual deployment (all 12 steps) is the right choice when you want full control over caching headers, need a non-standard Nginx setup, or are deploying for the first time and want to understand what actually happens to your files. Total time: 20-30 minutes.
CtrlOps one-click deployment removes the repetition when you deploy React apps from GitHub regularly. We tested both approaches on a fresh 1 GB DigitalOcean droplet running Ubuntu 24.04: the manual process took 20 to 30 minutes end-to-end, while CtrlOps finished in 5 minutes. You fill a form, select React as the application type, and click Create. The build, the start command, Nginx, and SSL are handled from there.
| Step | Manual Process | With CtrlOps |
|---|---|---|
| Install Node.js | Run NodeSource setup script | Select version from dropdown |
| Clone repo | git clone via terminal | Pick the repo and branch from a dropdown |
| Environment variables | Create .env manually via nano | Bulk paste entire .env file |
| Install dependencies | npm install via terminal | Auto-runs during deploy |
| Production build | Run npm run build manually | Auto-runs during deploy |
| Serve the built files | Configure Nginx root and SPA fallback by hand | Set once in the Start Command field |
| Nginx | Write config file, test, reload | Handled automatically |
| DNS setup | Update A record at registrar | Update A record at registrar |
| SSL certificate | Install Certbot, run CLI commands | Toggle on, auto-configured |
| Total time | 20-30 minutes | Under 5 minutes |
| Tools required | 5+ (terminal, editor, browser, DNS panel, docs) | 1 (CtrlOps) |
Why Is React Deployment Different from Node.js or Next.js?
A React app compiled for production is not a running program. It is a folder of pre-built assets, usually named dist (Vite) or build (Create React App), that any web server can serve without executing a single line of JavaScript on the server. There is no npm start in the sense a Node.js app means it, and nothing has to stay resident in memory to render a page.
Client-side routing needs a fallback rule. If your app uses React Router, a URL like /dashboard/settings does not exist as a real file on disk. Whatever serves your files has to be told to return index.html for any path it cannot find, so React Router can take over and render the right screen in the browser. Skip this, and every direct link or page refresh outside the homepage returns a 404.
Environment variables are baked in at build time, permanently. Unlike a Node.js server that reads .env on every restart, a React build inlines environment variables directly into the JavaScript bundle the moment you run the build command. Change a variable after building, and nothing happens until you rebuild from scratch. This is documented behavior in the Create React App and Vite docs, not a bug: the variables are substituted as literal strings during compilation, so there is no runtime left to re-read them.
Bottom line: Create React App (CRA) was officially deprecated by the React team in February 2025 (React docs: Creating a React App) and now runs in maintenance mode only, with no new features or performance work. Vite has become the standard build tool for React SPAs in 2026, and this guide covers commands for both, noting where they differ.
What Do You Need Before Deploying React on a VPS?
- A Linux VPS running Ubuntu 22.04 or 24.04 LTS with at least 1 GB of RAM. Static builds are far lighter on resources than Next.js SSR builds, so an entry-level VPS is usually enough.
- SSH access to your server. You should be able to run
ssh user@your-server-ipfrom your local terminal. - Your React app in a GitHub repository. Public repos work immediately. Private repos need a deploy key or a GitHub personal access token.
- A domain name (optional but recommended). Point the DNS A record to your server's public IP before starting the SSL step.
- A successful local build. Run
npm run buildon your machine first. If it fails locally, it fails on the server too, with less helpful output.
Reality check: Check your package.json before you start. Vite projects output to a dist/ folder; Create React App projects output to build/. Using the wrong folder name is one of the most common reasons a fresh deployment shows a blank white screen.
How to Deploy a React App on a VPS Manually: The Full 12-Step Process
Manual React deployment on a Linux VPS involves server preparation, building the static bundle, and configuring Nginx to serve it correctly, including the SPA routing fallback. An experienced developer finishes in 20-30 minutes.
Step 1: Update Server Packages (2 Minutes)
sudo apt update && sudo apt upgrade -yStep 2: Install Node.js and Git (3 Minutes)
You only need Node.js to run the build. It does not need to stay running afterward.
curl -fsSL https://deb.nodesource.com/setup_24.x | sudo -E bash -
sudo apt install -y nodejs git
Verify:
node --version
npm --version
git --version
Node.js 24 LTS is the recommended version for production builds in 2026. Node.js 24 LTS (codename Krypton) entered Long-Term Support in October 2025 and is supported through April 2028.
Step 3: Clone Your React Project (1 Minute)
git clone https://github.com/your-username/your-app.git
cd your-app
For private repos:
git clone https://<your-token>@github.com/your-username/your-app.gitStep 4: Configure Environment Variables (3-5 Minutes)
nano .envFor a Vite project, prefix every variable your frontend code reads with VITE_:
VITE_API_URL=https://api.yourdomain.com
VITE_ANALYTICS_KEY=abc123
For a Create React App project, the prefix is REACT_APP_ instead:
REACT_APP_API_URL=https://api.yourdomain.com
REACT_APP_ANALYTICS_KEY=abc123
Save and exit (Ctrl+X, then Y, then Enter).
Reality check: Every variable your React code reads gets compiled directly into the JavaScript bundle and shipped to every visitor's browser. Never put secrets, database credentials, or private API keys in a React .env file. Anything prefixed VITE_ or REACT_APP_ is public the moment you build.
Step 5: Install Project Dependencies (2-4 Minutes)
npm installOn a 1 GB VPS, npm install can fail with a bare Killed message if memory runs out. A 2 GB swap file fixes it:
sudo fallocate -l 2G /swapfile
sudo chmod 600 /swapfile
sudo mkswap /swapfile
sudo swapon /swapfile
echo '/swapfile none swap sw 0 0' | sudo tee -a /etc/fstab
Step 6: Build the Production Version (1-2 Minutes)
The command is the same for both build tools. Only the output folder differs.
npm run buildVite generates a dist/ folder. Create React App generates build/. Either way you get minified HTML, CSS, and JavaScript, with content-hashed filenames for cache busting.
Bottom line: React production builds are far lighter than Next.js builds since there is no server-side rendering to pre-compute. Most small-to-medium React apps build in under a minute, even on a 1 GB VPS.
Step 7: Create a Web Directory (30 Seconds)
Static files should live outside your home directory, in a location Nginx can read regardless of which system user owns it.
sudo mkdir -p /var/www/your-appStep 8: Copy the Build Files (30 Seconds)
Copy the contents of your build output (not the folder itself) into the web directory.
For Vite:
sudo cp -r dist/* /var/www/your-app/For Create React App:
sudo cp -r build/* /var/www/your-app/Set correct ownership so Nginx can read the files:
sudo chown -R www-data:www-data /var/www/your-appStep 9: Install and Configure Nginx (5-8 Minutes)
sudo apt install nginx -yCreate a new site config:
sudo nano /etc/nginx/sites-available/your-appPaste this configuration:
server {
    listen 80;
    server_name yourdomain.com www.yourdomain.com;
    root /var/www/your-app;
    index index.html;

    location / {
        try_files $uri $uri/ /index.html;
    }

    location ~* \.(js|css|png|jpg|jpeg|gif|svg|woff2?|ttf|eot)$ {
        expires 30d;
        add_header Cache-Control "public, immutable";
    }
}
The try_files $uri $uri/ /index.html; line is the piece that makes client-side routing work. Nginx checks for a matching file, then a matching directory, and falls back to index.html if neither exists, letting React Router handle the path in the browser.
Enable the config and test it:
sudo ln -s /etc/nginx/sites-available/your-app /etc/nginx/sites-enabled/
sudo nginx -t
sudo systemctl reload nginx
If you would rather generate the config visually than write it by hand, the free CtrlOps Nginx Config Generator produces a ready-to-use static site block in seconds.
Reality check: Without the try_files fallback, your homepage will load fine, but refreshing /dashboard or sharing a direct link to /settings returns a plain Nginx 404 page. This is the single most common React-on-VPS bug, and it has nothing to do with your React code.
Step 10: Connect Your Domain to the VPS (2-5 Minutes)
Update the DNS A record at your registrar (Namecheap, Cloudflare, GoDaddy):
| Record Type | Host | Value |
|---|---|---|
| A | @ | your-server-ip |
| A | www | your-server-ip |
Check propagation with dig yourdomain.com +short, or confirm the record from the browser with the free DNS record lookup tool before you attempt SSL.
Step 11: Install Certbot and Generate SSL (2-3 Minutes)
sudo apt install certbot python3-certbot-nginx -y
sudo certbot --nginx -d yourdomain.com -d www.yourdomain.com
Test auto-renewal:
sudo certbot renew --dry-runCertbot renews on its own timer, but a renewal can fail silently. The CtrlOps SSL certificate expiring alert reminds you 14, 7, 3, and 1 days before expiry.
Step 12: Verify the Deployment (1 Minute)
Open https://yourdomain.com. Confirm the homepage loads, then manually navigate to a nested route (like /about or /dashboard) and refresh the page. If it still loads instead of showing a 404, your SPA fallback is working correctly.
Where Do React VPS Deployments Break?
React deployments have fewer failure points than Node.js or Next.js, since there is no long-running server process to babysit. But the failures that do happen tend to be confusing precisely because everything looks fine on the surface.
The Blank White Screen
The most common React deployment failure is an entirely blank page with no error visible anywhere in the UI. The usual causes: the build output was copied from the wrong folder (build/ instead of dist/, or vice versa), the Nginx root directive points somewhere that does not match where the files actually live, or an absolute asset path in index.html does not match your domain structure. Opening the browser console almost always reveals a 404 for a .js or .css file, which points straight at the mismatch.
Refreshing Any Route Except the Homepage 404s
Without the try_files $uri $uri/ /index.html; fallback in your Nginx config, only the exact homepage URL works. Every other client-side route returns a 404 the moment someone refreshes or shares a direct link. This is the single most-searched React-on-VPS deployment problem.
Environment Variables That "Don't Update"
A developer changes an API URL in .env, refreshes the browser, and sees the old value. Unlike a Node.js server, a React SPA has no runtime to restart. The old value is permanently compiled into the JavaScript bundle sitting in /var/www/your-app. The only fix is rebuilding (npm run build) and re-copying the output.
Stale Browser Caching After Deploys
Because static assets are often cached aggressively for performance (see the expires 30d rule above), returning visitors sometimes load an old version of your app after a deploy. Build tools like Vite solve this automatically by content-hashing filenames (index-a1b2c3.js), so a new build always has new filenames and old cached files are simply ignored. Make sure your index.html itself is never cached, only the hashed asset files, or visitors will keep loading a stale reference to old bundles.
The Build Runs Out of Memory
On a 1 GB VPS, a large React build can die with JavaScript heap out of memory before it finishes. Raising Node's heap limit fixes it without resizing the server:
NODE_OPTIONS=--max-old-space-size=4096 npm run buildBottom line: Nearly every React deployment issue traces back to one of two things: the wrong build folder being served, or a missing SPA fallback rule. Check those two first before assuming your React code is broken.
How Does CtrlOps One-Click Deployment Handle React?
CtrlOps reduces the manual build-and-serve process to a single form. You select React as the application type, pick your GitHub repo, and click Create. CtrlOps clones the repo, installs dependencies, runs the build, starts the app, configures Nginx, and issues the SSL certificate, streaming live terminal output for every phase. Total time: under 5 minutes.
The form is split into five cards. Here is the exact process:
1. Open the Add Application form: Connect to your server in CtrlOps, open the Deployments tab (or the File Manager toolbar), and click Add Application.
2. Fill in basic information: Name the app something recognizable ("Marketing Site", "Client Dashboard") and choose Development, Staging, or Production. Then point CtrlOps at your code: click Connect GitHub to authorize once and pick the repo and branch from a dropdown (private repos included, no deploy key needed), or paste a repository URL directly.
3. Select the Node.js version: Pick from the dropdown. Versions already on the server show a green checkmark; anything else shows a download icon and gets installed as part of the deploy.
4. Choose React as the application type, and set the start command: Selecting React auto-fills the Build Command as npm run build. The Start Command is the field that matters for a React app. A static build needs something to serve it on a port, so set it to match your build folder:
# Vite (dist/ folder)
serve -s dist -l 3000

# Create React App (build/ folder)
serve -s build -l 3000
The -s flag is the important part. It is short for "single page app", and it makes serve return index.html for any path it cannot find on disk. That is the same job the try_files rule does in the manual Nginx config, which is why client-side routing keeps working without you writing a fallback rule yourself.
5. Add environment variables: Add them one at a time (Key and Value fields), or click Bulk Paste Environment Variables and drop in your entire .env file at once. CtrlOps sets these before the build runs, so VITE_ and REACT_APP_ variables are correctly baked into the bundle.
6. Configure the domain and SSL, then click Create: Enter the port your start command listens on (3000 in the example above), add your domain, and toggle on Setup SSL certificates for domains (using Certbot). Adding yoursite.com automatically covers www.yoursite.com too.
CtrlOps then opens a live Deployment Progress modal with a checklist: clone, install, build, start, configure Nginx, issue SSL. Each step turns green on success and red on failure, with the real terminal output underneath, so a failed build shows you the actual error from npm run build rather than a generic "deployment failed" dialog.
What CtrlOps Handles Behind the Scenes
- Clones the repo from GitHub
- Installs the selected Node.js version if it is not already present
- Runs
npm install(or your custom install command) - Runs
npm run buildto produce the static bundle - Starts your start command under PM2, so the static server comes back up after a crash or reboot
- Configures Nginx to route your domain to that port
- Runs Certbot for SSL, if toggled on
Bottom line: The manual path and the CtrlOps path solve SPA routing differently. Manually, Nginx serves the files off disk and try_files provides the fallback. With CtrlOps, serve -s provides the fallback and Nginx routes to it. Same result for your users, and in both cases you still have to point at the right build folder (dist for Vite, build for CRA).
Reality check: DNS must already point to your server before SSL can succeed. If your domain is not pointed yet, deploy without SSL first and add it later from the AI Terminal.
React SPA on a VPS vs. Netlify, Vercel, and Cloudflare Pages
React apps are static files, which means they can be hosted almost anywhere: a VPS, Netlify, Vercel, Cloudflare Pages, or an S3 bucket behind a CDN. Each option trades convenience for cost and control differently.
| Approach | Deploy Time | Monthly Cost | Best For |
|---|---|---|---|
| Netlify / Cloudflare Pages free tier | 1-2 min | Free, then usage-based | Personal projects, low traffic, zero infra |
| Vercel | 1-2 min | Free tier, then $20+/seat | Teams already on the Vercel ecosystem |
| CtrlOps | Under 5 min | $7/user/month (1 mo free) + VPS cost | Teams managing several apps/servers, predictable cost |
| Manual (SSH + Nginx) | 20-30 min | VPS cost only | Learning, custom Nginx rules, one-off projects |
| S3 + CloudFront | 15-20 min setup | Pay-per-request, usually a few dollars/month | High-traffic static sites needing global CDN |
A VPS starts making sense when your React frontend is one of several apps you manage, alongside an API, a database, or an admin panel, and you want everything on infrastructure you control at a flat monthly price. For a standalone portfolio or marketing page with no backend, a free static host like Netlify or Cloudflare Pages is the simpler choice.
Bottom line: If your React app is a standalone marketing site with no backend to manage, a free static host is usually the simpler choice. If it is one piece of a larger stack you are already running on a VPS, alongside an API, a database, or other apps, deploying it to the same server keeps everything under one roof.
How Do You Update Your React App After Deployment?
Every code change needs a rebuild. What happens next depends on how you deployed.
Manual Update Process
Rebuild and re-copy the static files. There is no process to restart, because nothing is running.
ssh user@your-server-ip
cd /home/user/your-app
git pull origin main
npm install
npm run build
sudo rm -rf /var/www/your-app/*
sudo cp -r dist/* /var/www/your-app/
sudo chown -R www-data:www-data /var/www/your-app
(Swap dist/* for build/* if you are on Create React App.) Nginx serves whatever files are currently sitting in the web directory, so the moment the new files are copied in, the new version is live.
Updating with CtrlOps
Pull new commits with a click from the File Manager's git bar, or save this sequence once as a reusable Script in the Script Directory, with {{app_name}} as a placeholder for reuse across projects:
cd /home/user/{{app_name}}
git pull origin main
npm install
npm run build
pm2 restart {{app_name}}
Because CtrlOps runs your static server under PM2, the restart picks up the freshly built folder. You only write that script once - it is then one click on every server you connect to, and the placeholder is filled in at run time. Or type it in plain English in the AI Terminal: "pull the latest code, rebuild, and restart the app." CtrlOps generates the exact command sequence and waits for your approval before running anything.
Bottom line: A rebuild is mandatory on every deploy, because your environment variables and your entire app are compiled into the bundle. There is no "just restart it and pick up the new config" shortcut like there is with a Node.js API.
When Should You Deploy React Manually Instead?
Deploy React manually instead of using one-click tools when:
Custom caching or CDN rules: You need fine-grained cache-control headers per route, edge-side includes, or a CDN layered in front of Nginx.
Multi-app Nginx setups with shared infrastructure: Your React app shares a server with an API and needs a specific location block routing /api/ to a backend on a different port.
Monorepo builds: Your React app lives inside a Turborepo or Nx monorepo with a non-standard build pipeline where the default npm run build does not apply.
Learning purposes: Walking through the manual process once (build, copy, configure Nginx, add the SPA fallback) makes the "why" behind each automation step obvious when something breaks.
Best Practice: Create a Non-Root Deploy User
Every command in this guide works as root, but building a React app as root means one compromised npm package owns your entire server. A production build runs npm install, and npm install runs whatever postinstall scripts your dependency tree brings with it. That is a lot of third-party code to hand root to. Create a dedicated deploy user once, and every deployment on that server is safer.
adduser deploy
usermod -aG sudo deploy
Copy your SSH key to the new user and test the login:
ssh-copy-id deploy@your-server-ip
ssh deploy@your-server-ip
Once key-based login works, disable password authentication. Open the SSH config:
sudo nano /etc/ssh/sshd_configSet PasswordAuthentication no, save, then restart SSH:
sudo systemctl restart sshReality check: Test the key-based login in a second terminal before closing your current SSH session. If the key setup failed and password login is already disabled, you are locked out. Recovery means a provider console session.
This split also maps cleanly onto how a React deploy actually works. Clone and build inside the deploy user's own home directory (/home/deploy/your-app), where it owns every file and npm install never hits a permission error. Only the final copy into /var/www/your-app needs sudo, because that directory belongs to www-data. If you try to run the whole thing out of /var/www, npm install will fail with EACCES permission errors, which is a confusing way to learn this lesson.
It takes 5 minutes and you do it once per server. Skip it on a throwaway test box. Never skip it on a server that holds user data or client applications.
Skip the SSH commands: CtrlOps handles SSH user setup visually. Open your server, go to SSH Management, and click Add User: name the user, paste their key, and pick a role (Restricted, Standard, or Sudo) in one form. The SSH Management guide walks through it.
Conclusion
Deploying a React app to a Linux VPS is lighter than deploying Node.js or Next.js, since a production build is just files. But it has its own sharp edges: copying the wrong build folder, forgetting the SPA routing fallback, or assuming environment variables update without a rebuild. None of these show up as an obvious server crash. They show up as a blank screen or a confusing 404, which makes them harder to debug than a process that simply refuses to start.
CtrlOps runs the build, starts your static server under PM2, wires up Nginx, and issues SSL, all from one form. For teams managing multiple apps across several servers, it fits into a broader DevOps automation workflow without adding tool sprawl.
Manual deployment takes 20-30 minutes for an experienced developer, covering server setup, the production build, copying static files, configuring Nginx with SPA routing, and SSL via Certbot. CtrlOps one-click deployment reduces this to under 5 minutes by automating the build, the start command, the Nginx config, and the certificate.
Not if you serve the files straight off disk. A React production build is a folder of static HTML, CSS, and JavaScript, and Nginx can serve it with no process manager involved at all. You only need PM2 if you choose to serve the build through a static server like serve on a port, which is the approach CtrlOps uses so the app survives a crash or a reboot.
Whatever serves your files is not configured with a fallback for client-side routes. If Nginx serves the files directly, add try_files $uri $uri/ /index.html; inside your location / block. If you serve the build through the serve package, use the -s flag (serve -s dist), which does the same thing. Either way, any path that does not match a real file falls back to index.html so React Router can handle it.
Vite. Create React App was officially deprecated by the React team in February 2025 and now runs in maintenance mode with no new features or performance improvements. Vite offers substantially faster builds and is the build tool the React team currently points new projects toward.
React environment variables are compiled directly into the JavaScript bundle at build time, not read at runtime like a Node.js server would. Changing a value in .env has no effect until you run npm run build again and redeploy the new output.
Vite outputs to a dist/ folder by default. Create React App outputs to a build/ folder. Point your Nginx root directive, your start command, and your deployment scripts at whichever one matches your project's build tool, since using the wrong folder name is a common cause of a blank page after deployment.
No. Every environment variable your React code reads gets bundled into the client-side JavaScript and shipped to every visitor's browser. Anything prefixed VITE_ or REACT_APP_ should be treated as public information, never API secrets, database credentials, or private keys.
The pipeline is the same shape (clone, install, build, start, Nginx, SSL), but the Start Command is what changes. A Node.js or Next.js app starts its own server with npm start. A React build has no server, so you point the Start Command at a static server instead: serve -s dist -l 3000 for Vite, or serve -s build -l 3000 for Create React App. The -s flag handles SPA routing, and Nginx routes your domain to that port.
The build ran out of RAM. On a 1 GB VPS, add a 2 GB swap file, or raise Node's heap limit by setting NODE_OPTIONS=--max-old-space-size=4096 as an environment variable before the build runs. In CtrlOps, add that as an environment variable in the deployment form and the build step picks it up.